It’s getting increasingly complicated to use Android devices, thanks to newer models that come with a bunch of advanced features. This is especially frustrating for senior citizens. However, you can help them out by making their phones easier to use. All it requires is a few Android accessibility tweaks like the ones we discuss below.
1. Increase Font and Icon Size
One of the most common complaints you’re likely to hear from elderly family members about using a smartphone is difficulty in reading. Thankfully, to make text more readable for them, you can increase both the text and display size on their Android device.
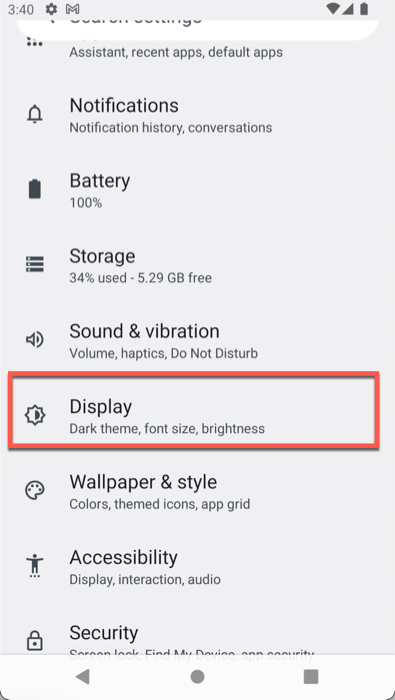
- Head over to the Display settings menu within the Settings app.
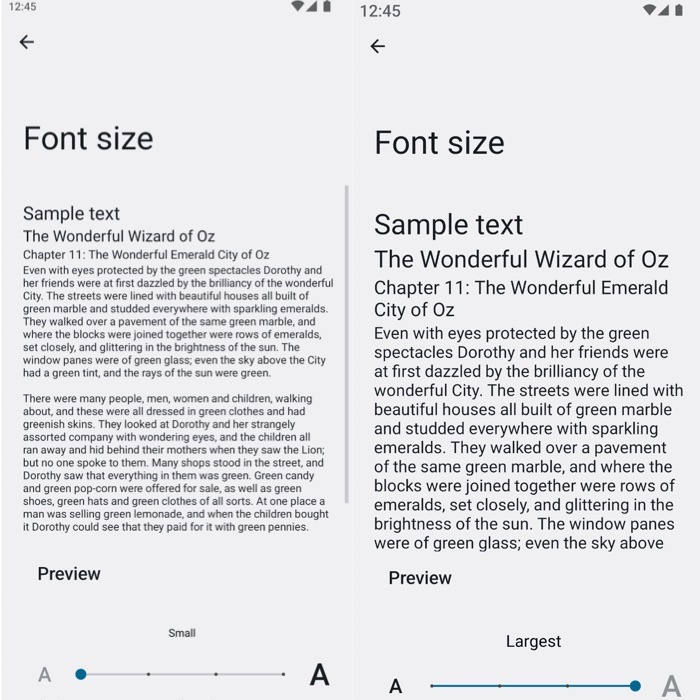
- Tap on “Font size.”
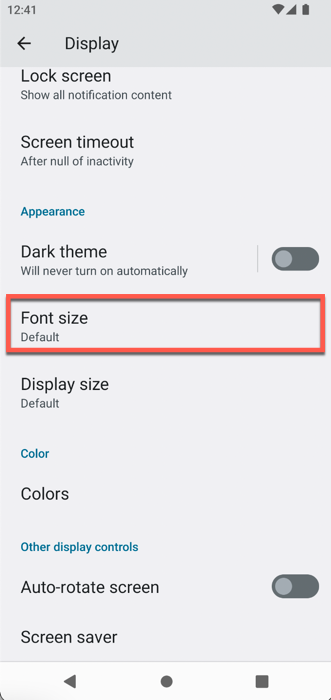
- Now adjust the font size using the slider given till the preview text becomes large and easy to read.
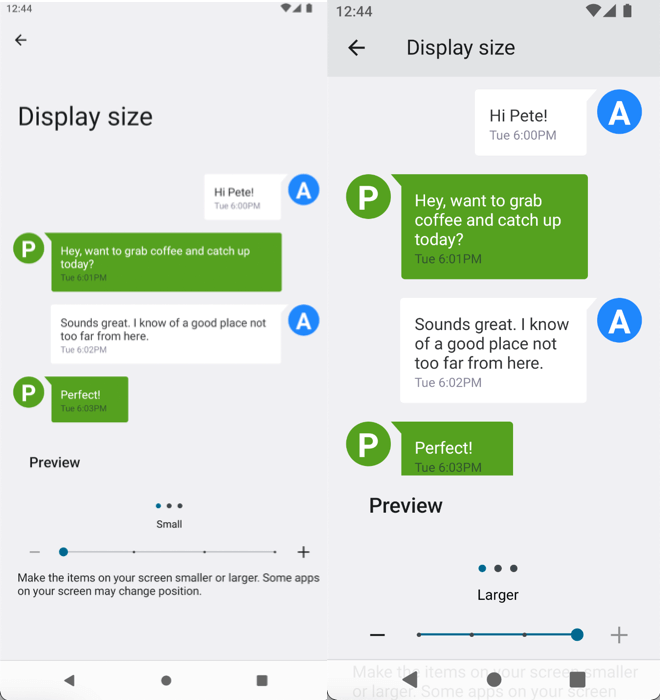
- Go back to the Display settings menu and select “Display size.”
- Drag the slider to the right to increase the display size of your phone. This scales up all onscreen elements proportionately.
2. Increase Screen Contrast
We also recommend turning up the contrast and vividness or saturation of the device. This will not only make text even more readable, but the enriched color grading of the device may help people with poor eyesight to read the screen more clearly. The relevant settings may not be available on all devices so if you don’t find them on yours, you can skip this tweak.
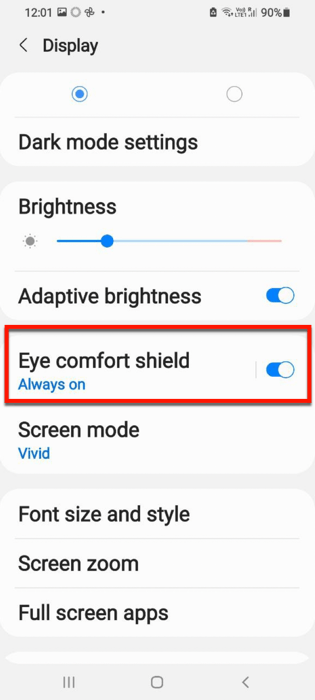
- Open the Settings app and tap on Display.
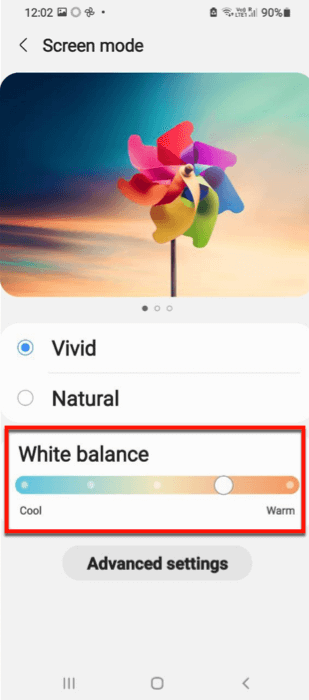
- Navigate to “Screen mode” settings within the display settings. Use the “White balance” (or similar) slider to tune up the colors and add some warmth to the screen.
- Also, turn on “Eye comfort” if your device has this option. It helps prevent eye strain by reducing the harmful blue light that a smartphone emits. You may find this option under the Display section as “Eye Comfort shield.”
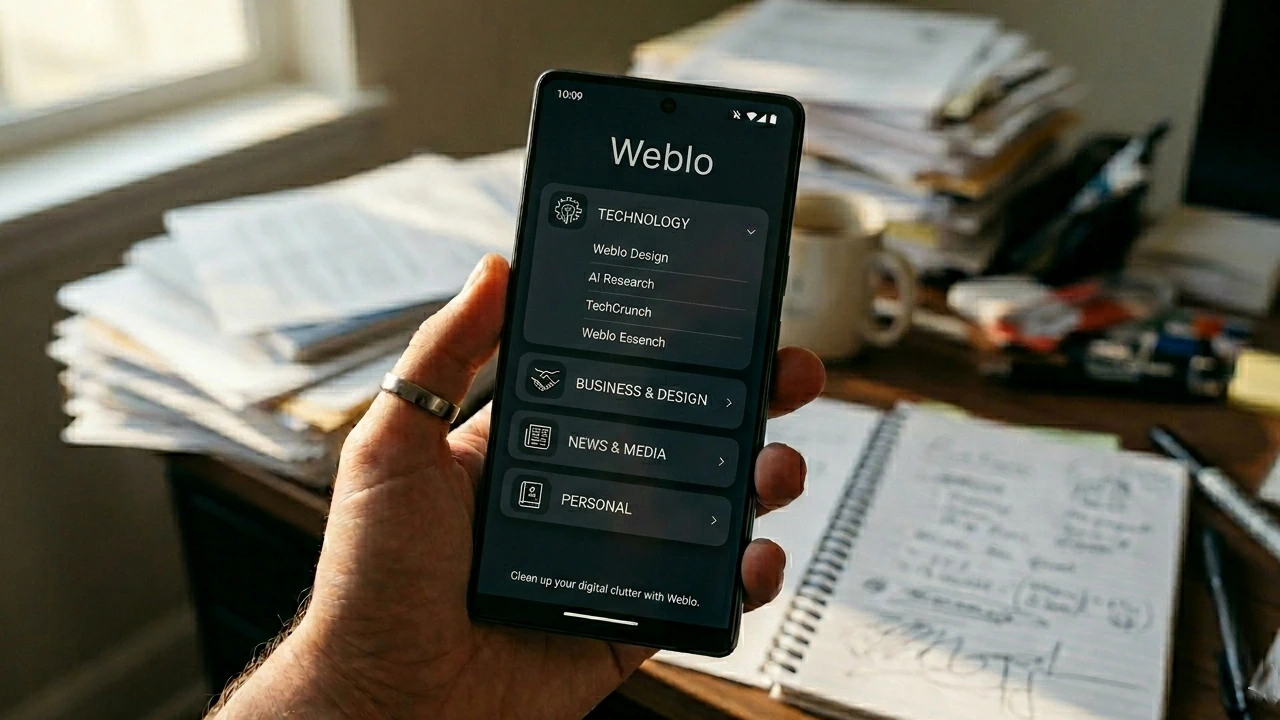
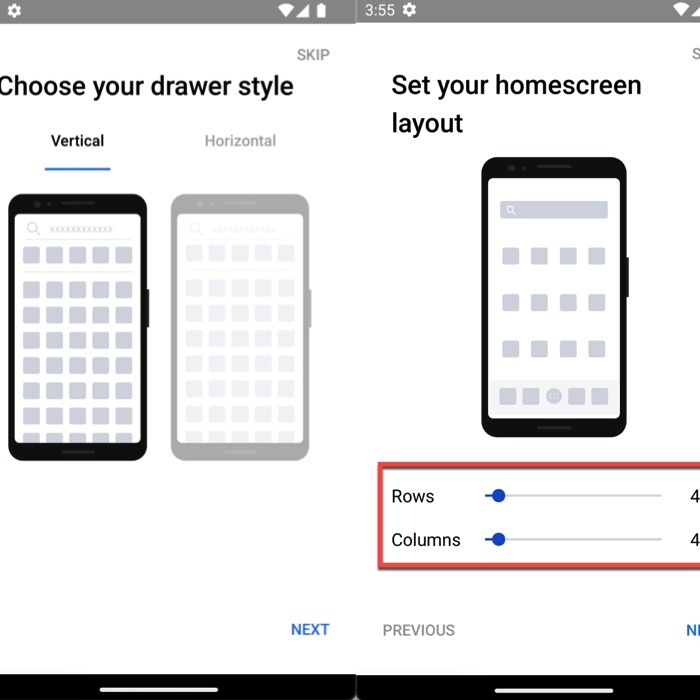
3. Use a Simpler Launcher
One of the best ways to make the interface more accessible is to install a third-party launcher that is easy to operate. Here are a few good options to consider:
To install a third-party launcher:
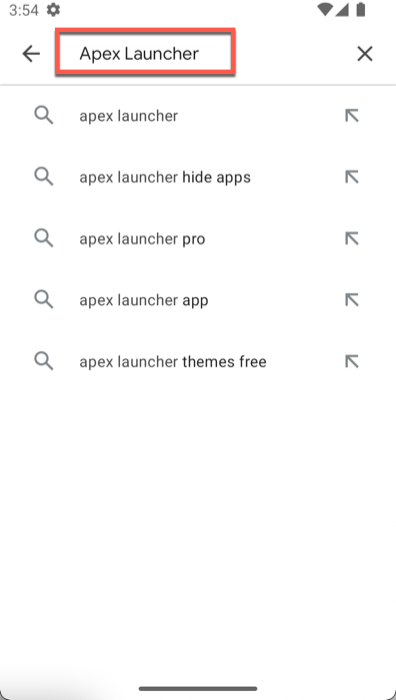
- Head over to Google Play Store and search for the launcher you want to install.
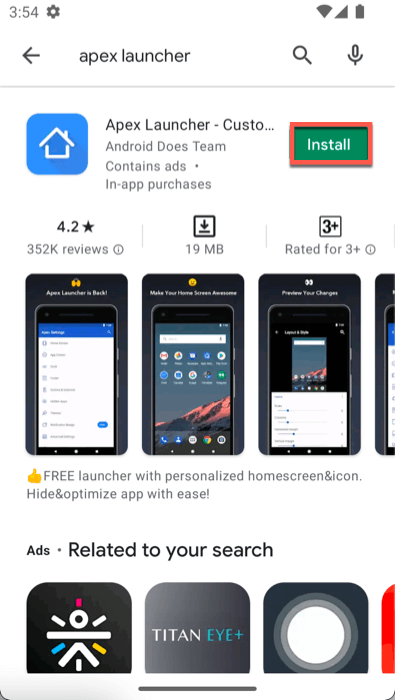
- Tap on Install.
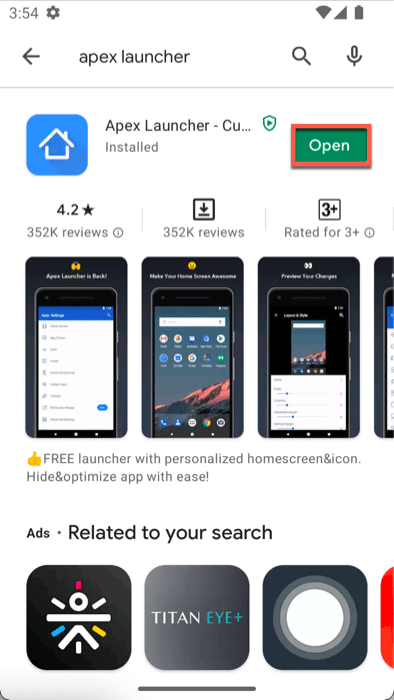
- Open the launcher.
- Follow the on-screen instructions to customize the launcher.
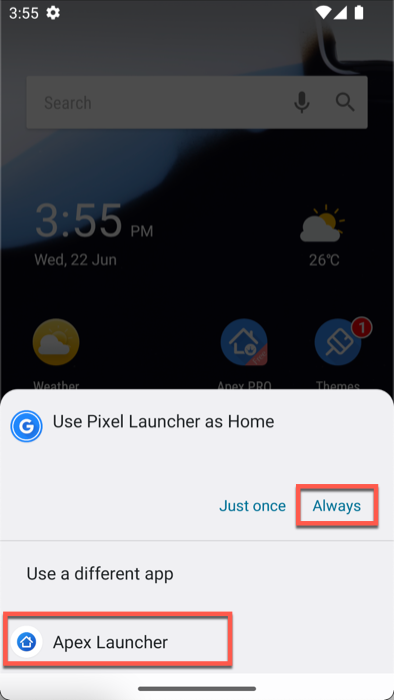
- When you are done, press the Home button on your phone. You will then be prompted to choose a default launcher. Select the newly installed launcher and set it as default.
4. Change the Keyboard Size
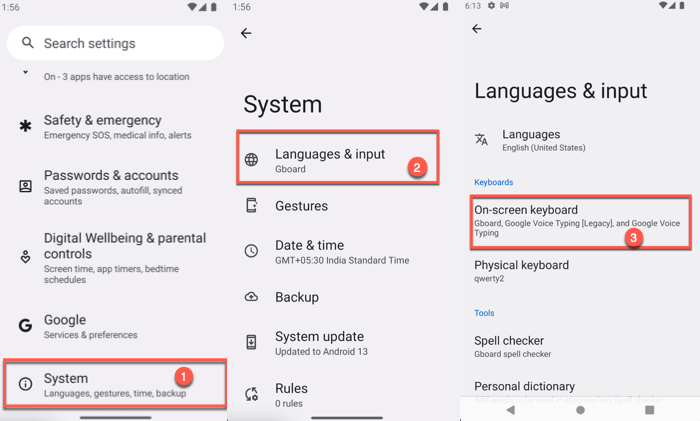
It’s common to have eyesight issues with old age, which can make it hard to read the small alphabets on a phone’s keyboard. Generally, the default size of keyboards is set to less than one third of the screen, but we recommend changing it from the Settings menu.
- Go to “Settings -> System -> Language & input -> On-screen keyboard.”
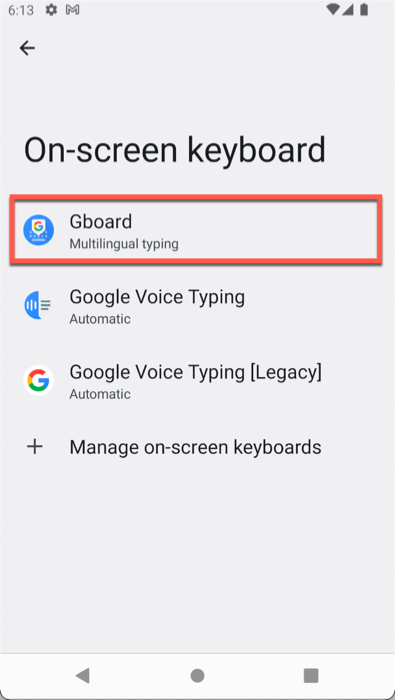
- Select the keyboard you want to customize.
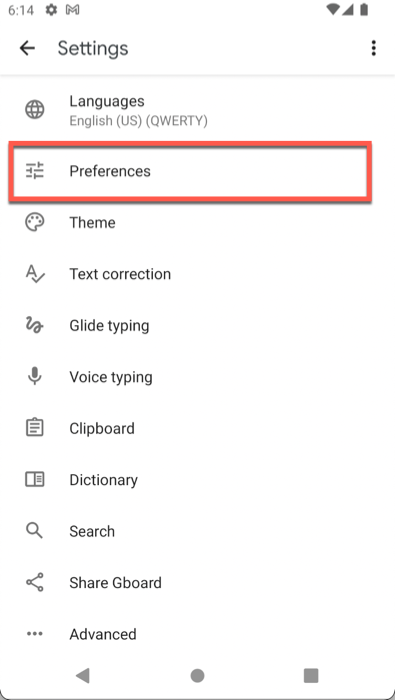
- Tap on “Preferences.”
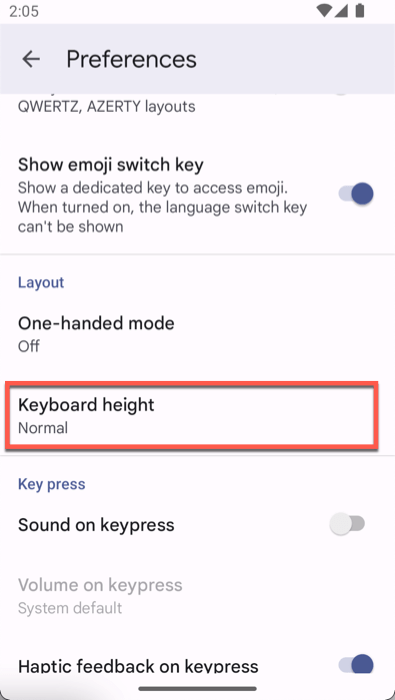
- Open the keyboard height settings.
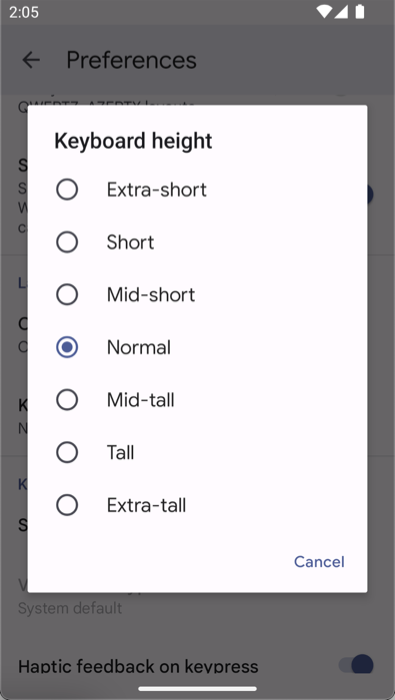
- From the pop-up that appears, select a larger-sized keyboard. On some devices, you will be prompted to choose the size from a given list of options, while on some other devices, you will have the freedom to adjust the size on a free scale.
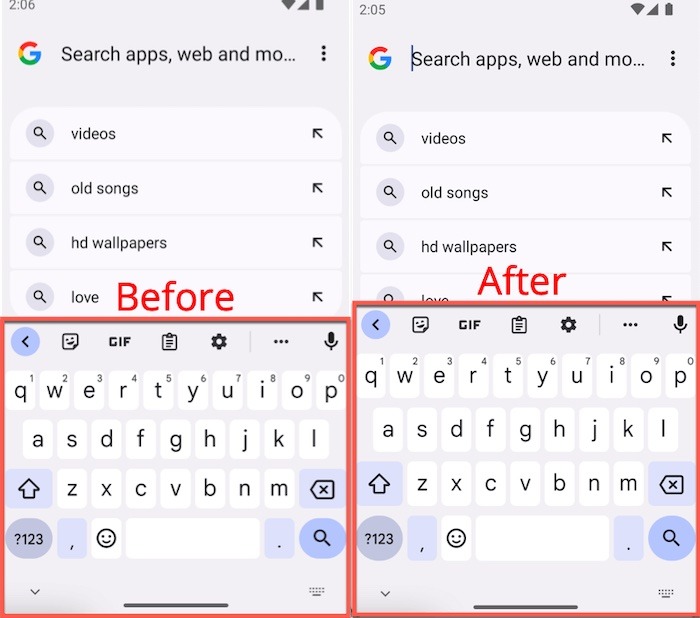
Your keyboard should now be larger than it was.
5. Enable Android Accessibility Features
Android devices are pretty flexible when it comes to customization. They pack a bunch of options under accessibility settings. You don’t need to enable all of the available features. Feel free to only select the ones that you think will help the elder you are setting up the phone for. Here are a few we recommend.
TalkBack
Talkback is designed for visually impaired people. It basically reads out all the text on the screen and guides the user about what they tap on, and even reads out all the options that they get if they open a menu. To enable TalkBack:
- Navigate to “Settings -> Accessibility -> TalkBack.”
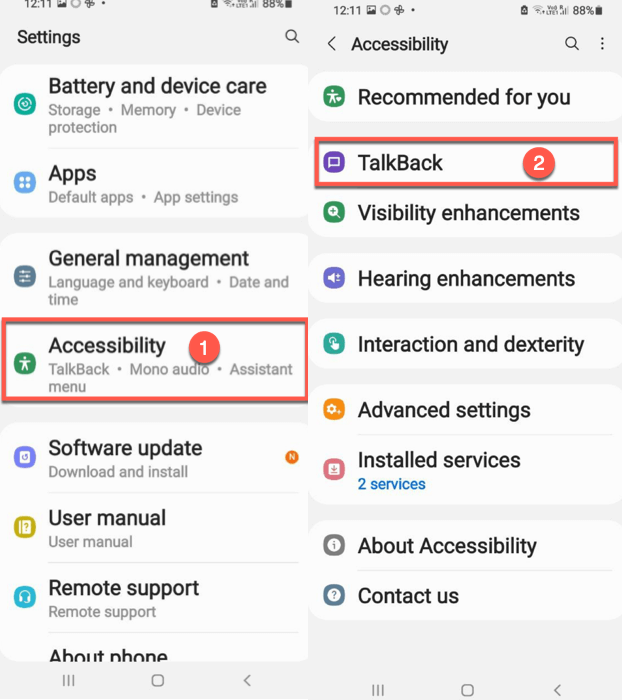
- Use the toggle button to turn the feature on.
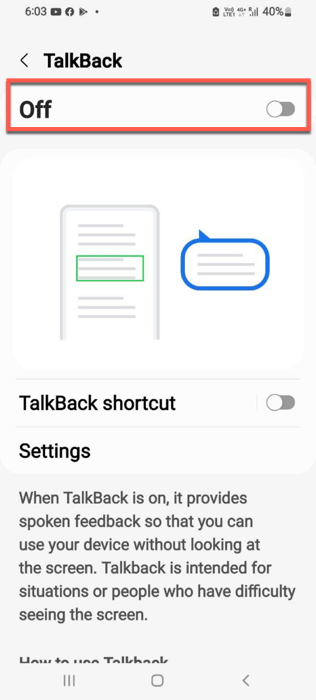
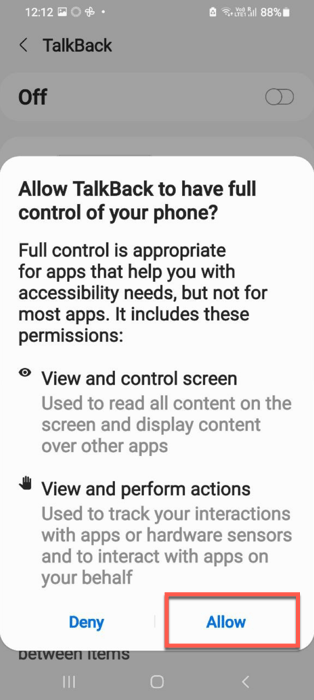
- Give the required permissions to activate TalkBack.
Color Accessibility Mode
For people who are partially blind or for those who have trouble perceiving colors, you can switch the phone to color accessibility mode. When you enable this feature, Android replaces the colors of the device display with high-contrast colors, which makes it easier to read the screen. This mode also helps in reading text from a screen easily in harsh lighting conditions.
- Go to “Settings -> Accessibilty -> Text and display.”
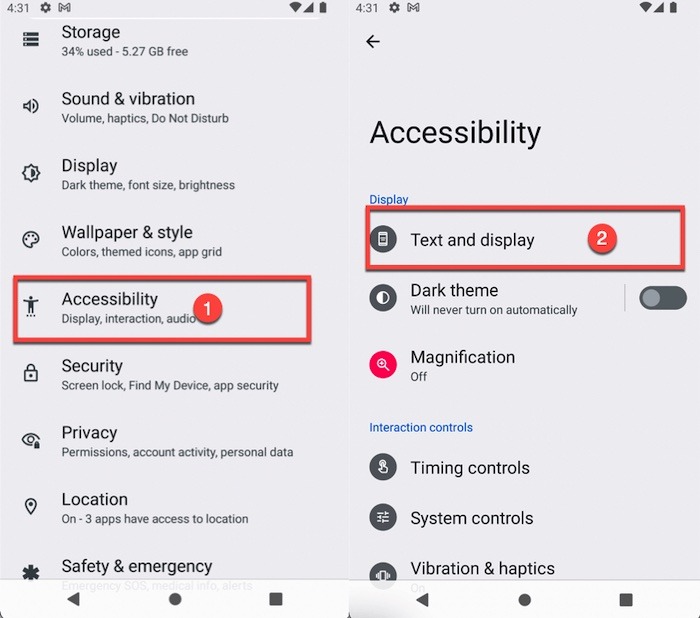
- Toggle on “High contrast text.”
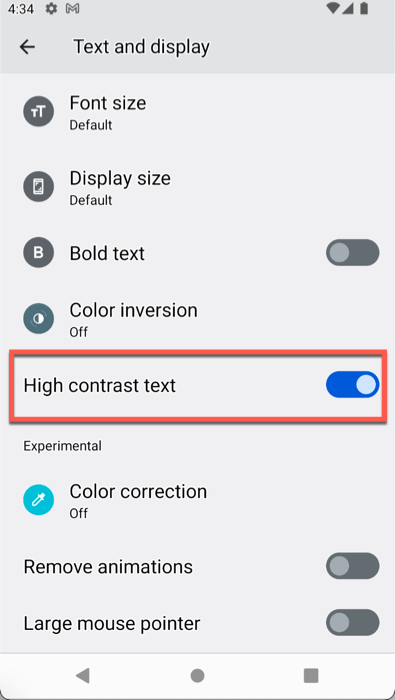
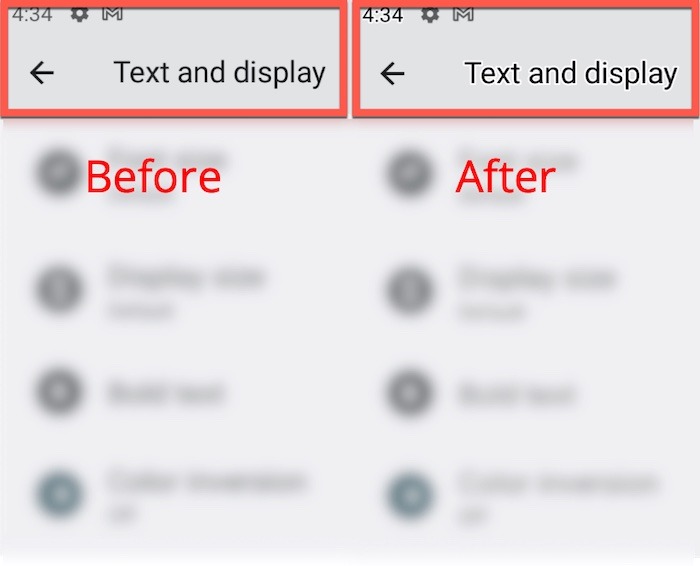
Now all the text on your screen will have an outline of a color contrasting with the color of the text.
Magnification
If you’re dealing with a phone that has a small screen, enable the magnification feature to help zoom in on the active screen.
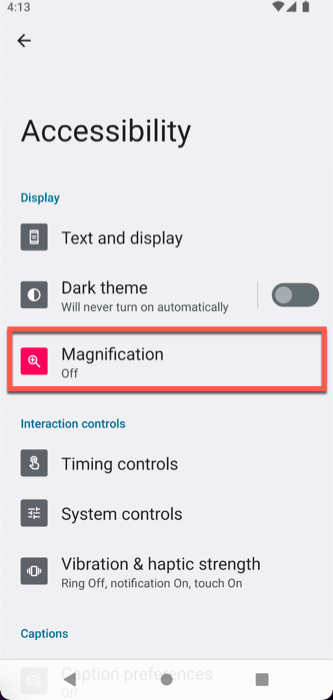
- Navigate to “Settings -> Accessibility -> Magnification.”
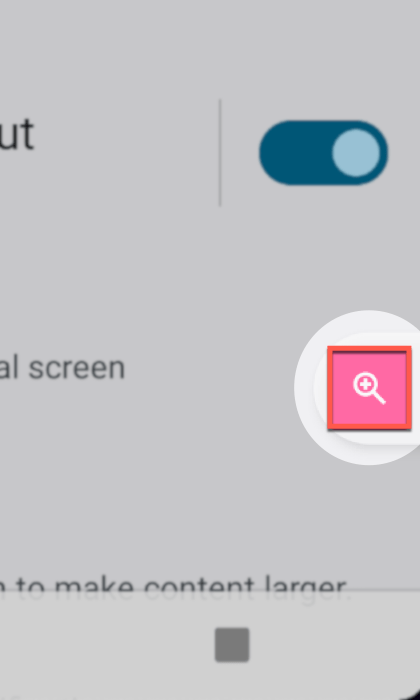
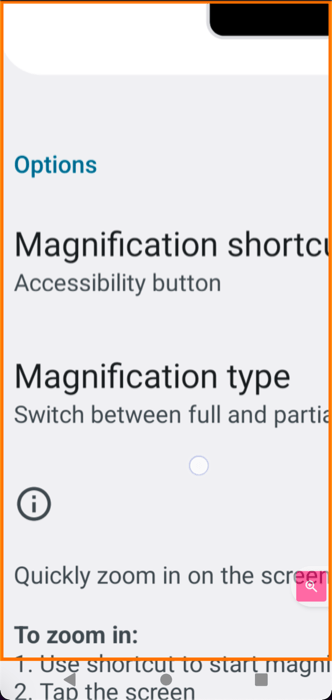
- Toggle on “Magnification shortcut.”
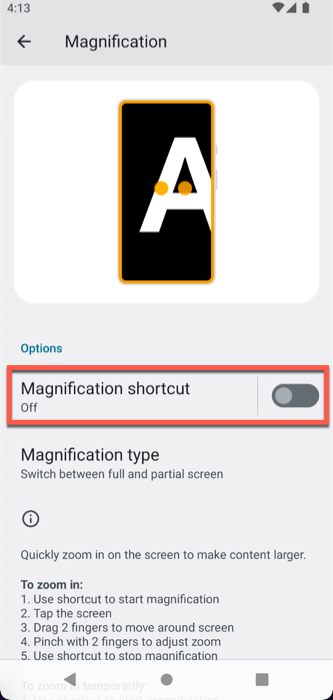
- Now you should see a magnification glass icon on your screen. Tap on it to open the magnifier.
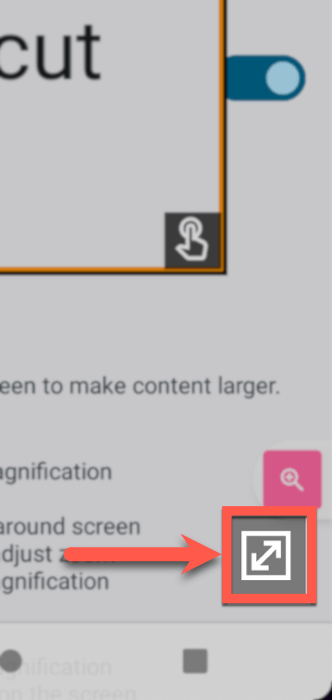
- A box that magnifies anything it’s placed on will appear on the screen. One can easily drag and move this box around to highlight various parts of the screen.
- When the magnification glass is active, you’ll see a toggle button that allows you to switch from the small magnifier to a full-screen zoom. Tap on it.
- Use a two-finger pinch gesture to zoom in or out of any part of the screen.
6. Set Up Google Assistant for Voice Control
Does the elder in question find it challenging to use various apps and menus despite all the tweaks mentioned above? Set up a voice assistant for them — it can execute most, if not all, basic tasks by following simple voice commands.
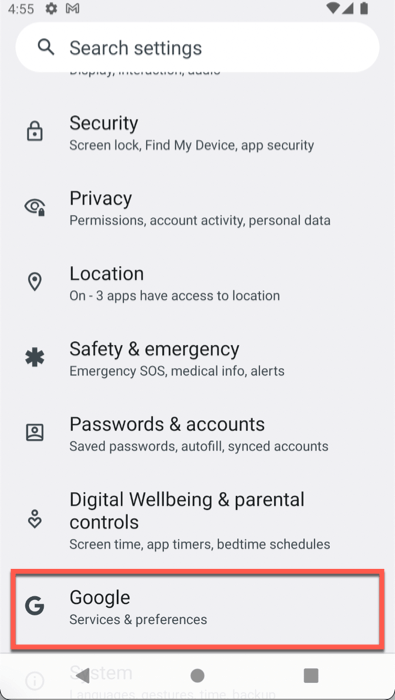
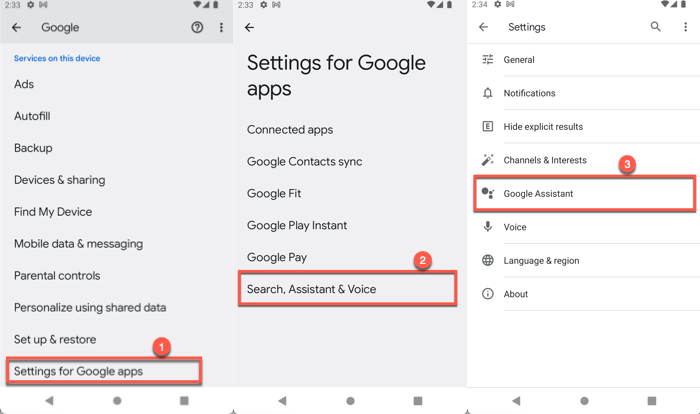
- Go to “Settings -> Google.”
- Navigate to “Settings for Google apps -> Search, Assistant & Voice -> Google Assistant.”
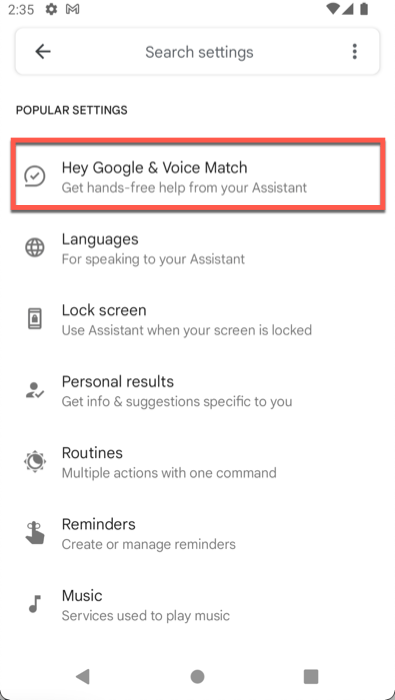
- From this menu, go to “Hey Google & Voice Match.”
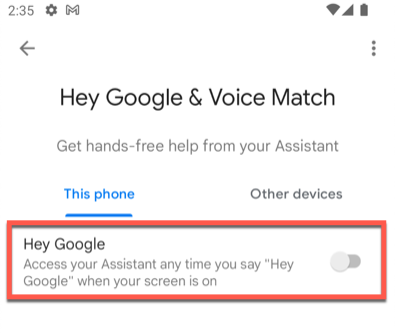
- Toggle on the “Hey Google” feature.
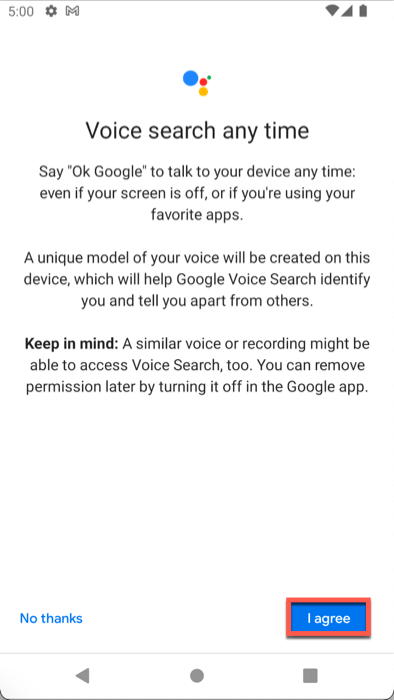
- Agree to the terms and conditions that pop up on the next screen.
- Give the required permissions to Google Assistant to access the microphone.

- On the next screen, ask the senior to say the phrase “Hey Google” out loud to teach their phone how to recognize their voice.
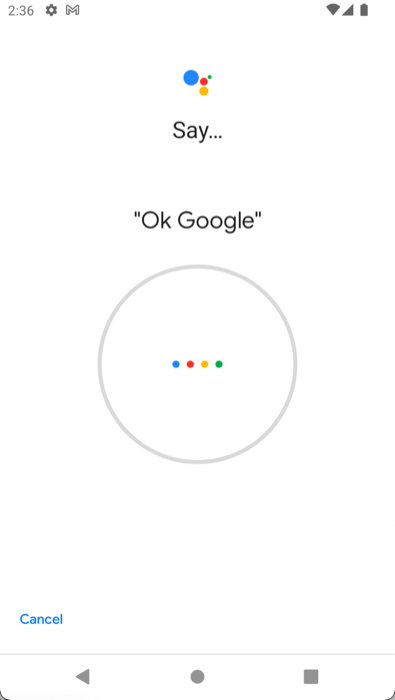
After this setup is complete, they can simply say “OK Google” followed by the command they want to execute. They’re free to use natural language commands. With the voice assistant enabled, they can call people, search the internet, ask about the weather forecast, open apps, play music, etc. without having to perform these tasks manually.
7. Remove Apps That Get in the Way
An Android device is likely to come with a lot of unnecessary apps like social media apps and games. If the senior you’re setting up the phone for is likely to find these unwanted apps a stumbling block, it’s best to remove them altogether for a more accessible device. (Of course, setting up a simple launcher also helps.)
- Navigate to “Settings -> Apps.”
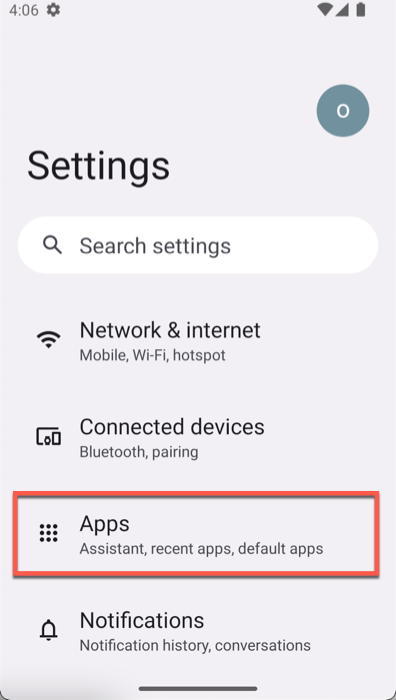
- When you are on the app list screen, tap on the app you find unnecessary.

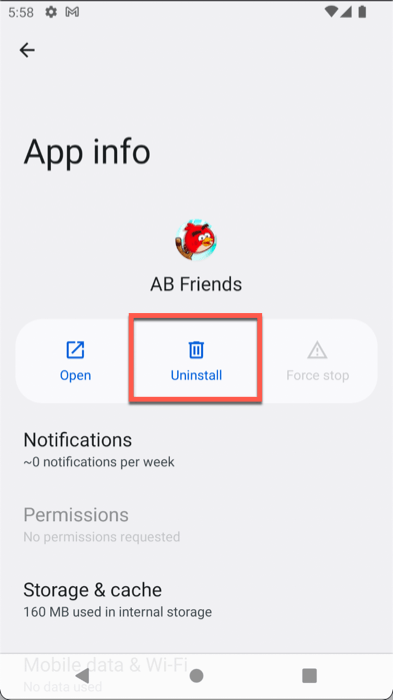
- On the next screen, tap on Uninstall.
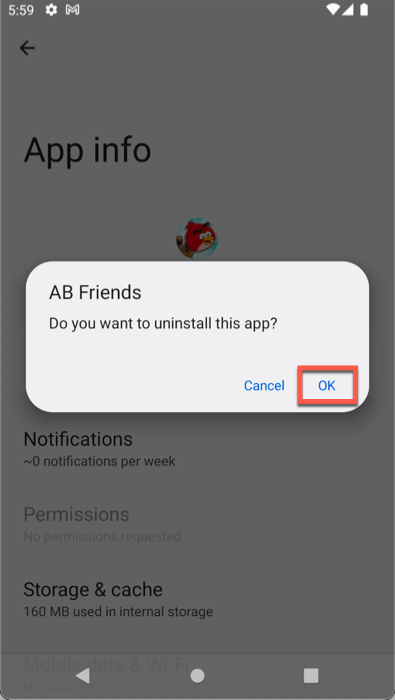
- A pop-up will appear to ask for your confirmation. Tap on OK and the app will be uninstalled from the device.
Here’s a list of the type of in-built apps that you should consider uninstalling:
- Cleaning apps
- Battery-saving apps
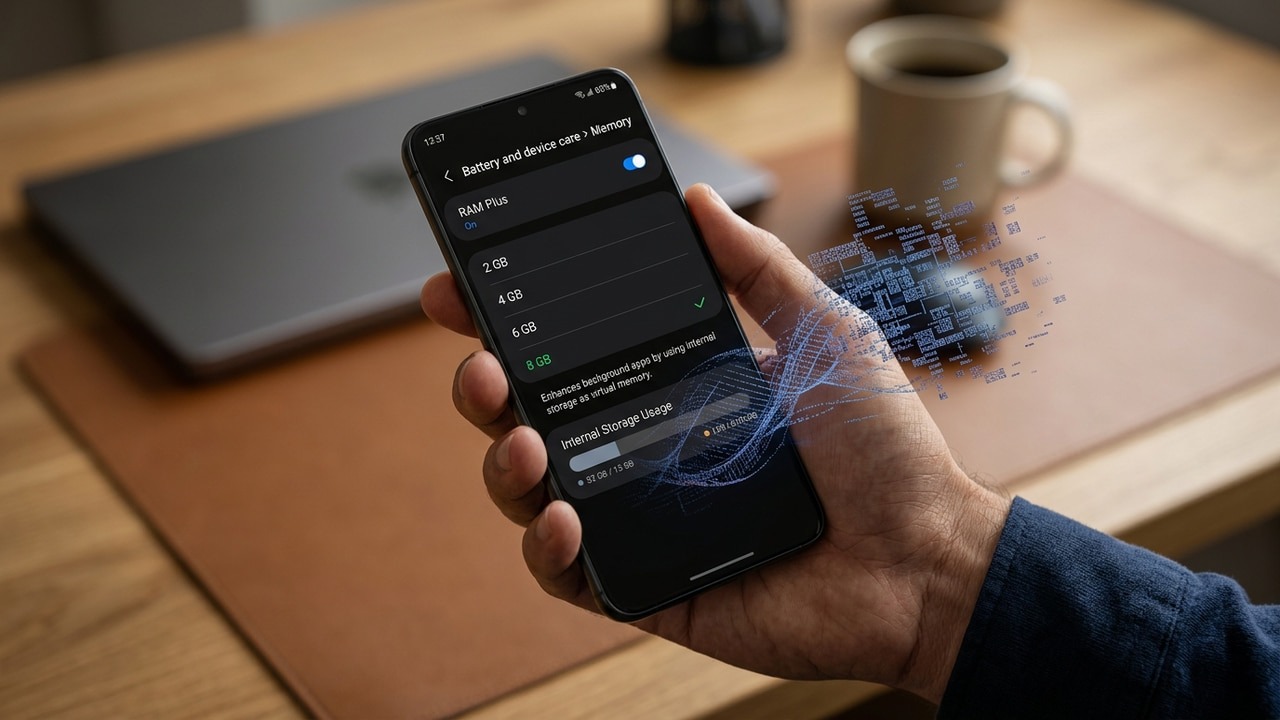
- RAM savers
- Games
- Unused social media apps
Some Android phones also have a lot of bloatware installed, which counts as a system app that is hard to uninstall. Fortunately, there are ways to uninstall bloatware and system apps without root.
Frequently Asked Questions
Why can’t I find Google Assistant settings?
Some smartphone manufacturers use a customized version of Android with their phones and do not include Google Assistant in the list of pre-installed apps. In such a case, you will have to download Google Assistant from Play Store manually and set it up.
Additionally, some smartphone brands like Samsung use their own voice assistants like Bixby, which you can use as an alternative to Google Assistant.
How can I help an elder with their smartphone if I live far away from them?
If you can’t be present in person every time to help a certain senior with their smartphone issues, try installing remote access software like TeamViewer on their phone — it’s a one-time task. Then, whenever they have any phone problems, you can connect to their device remotely and guide them through troubleshooting steps.
If a senior I know keeps misplacing their phone, how can I track it each time?
To help a senior track an Android phone, use the Google Find My Device app, which you can download from Google Play Store. However, before you install it, make sure to get their permission for it and ask them if they are willing to share their location with you.
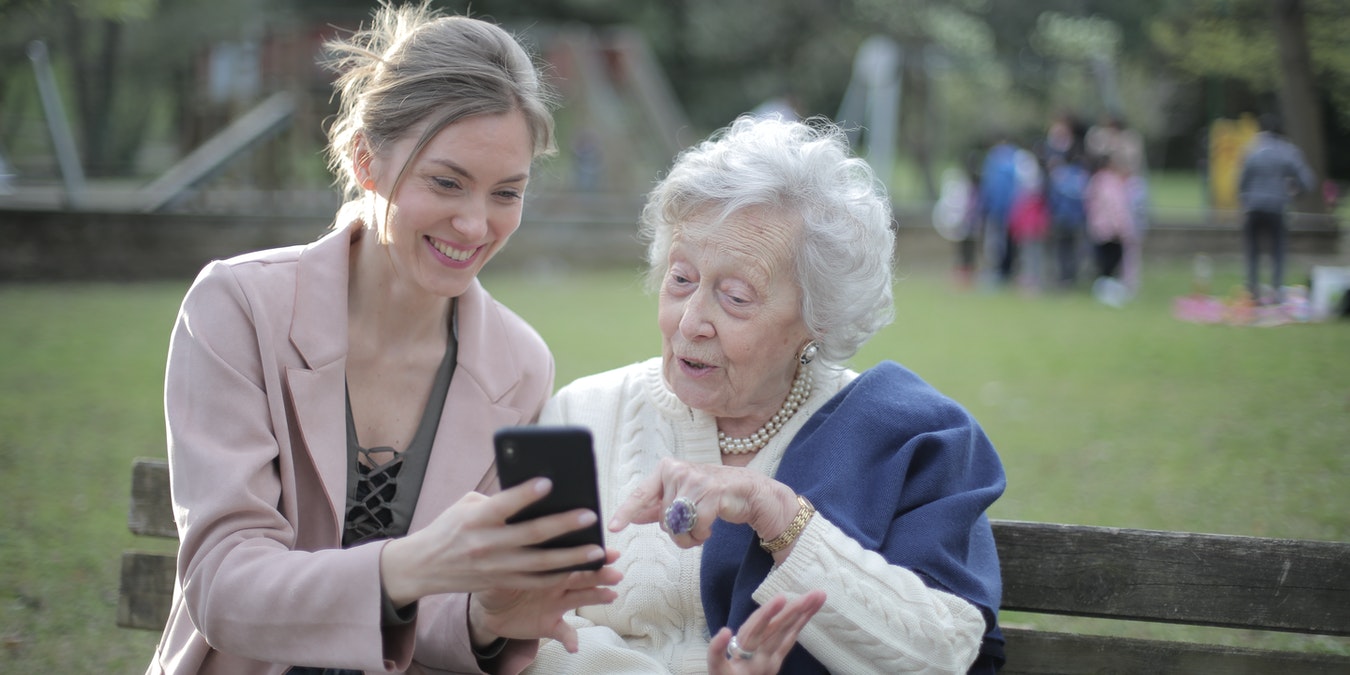
Image credit: Andrea Piacquadio on Pexels