
dd is one of the most important commands in Linux, mostly used in backing up hard disks and partitions. When utilized correctly, dd can be a powerful tool for writing data from one partition to another and performing different tasks with files. Here we show you how to put the dd command to good use.
Also read: 5 Arch Linux Distros That Are Easier to Install and Use
The Story of dd
The command was originally developed at AT&T Bell Laboratories in the 1970s by a computer scientist named Ken Thompson. It was developed for Unix-based systems and given a name that was chosen as a reference to a statement found in IBM’s Job Control Language, which was called “DD.” It can be noted that the syntax of the command closely resembles a statement in the Job Control Language.
The command was originally designed to be a utility to convert ASCII to EBCDIC and vice versa. It was first integrated with a version of Unix in 1974, with the release of the 5th Edition of the operating system.
dd has been called “disk destroyer” as a joke in the Unix community due to its ability to destroy data on hard disks when used improperly.
Also read: How to Encrypt Your Files in the Cloud Using Rclone
Basic Operands
Now that you know a little bit about the background of the command and its destructive abilities when used incorrectly, it’s time to learn how to take advantage of everything it offers to users of different Linux distributions.
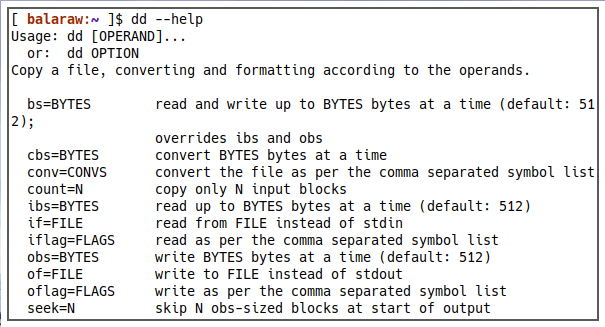
Firstly, view the manual using the --help flag:
dd --help
There are two operands for the command that are most commonly utilized. They are if and of, which stand for “input file” and “output file” respectively. The if operand is used to represent the source location, while the of operand is used to represent the location where you intend to save the data from the input location.
dd if= of=
The most common source and output locations include hard disks, partitions, and disk images.
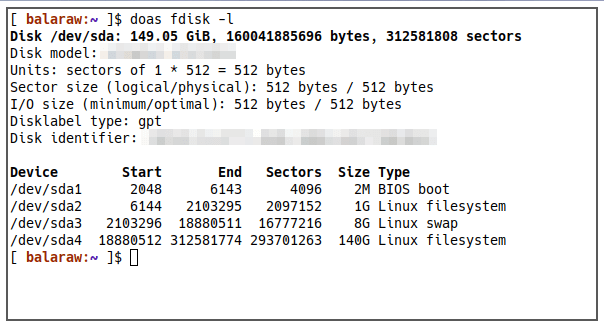
Before using the command, it might be helpful to use the fdisk utility to view the partitions on your system. This can easily be done using the command’s -l flag:
sudo fdisk -l
Also read: 4 Ways to Clone an Entire Hard Drive on Linux
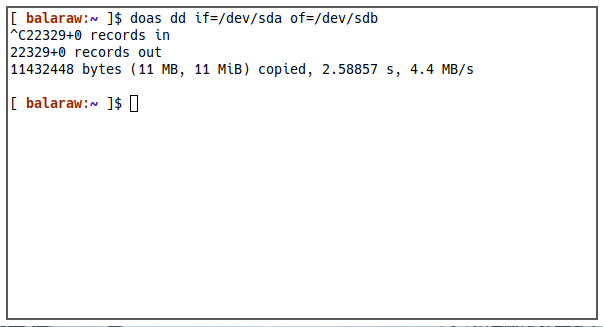
In this case, if is used to represent the “/dev/sda” drive, and of represents the “/dev/sdb” drive, where the data from “/dev/sda” will be saved to:
dd if=/dev/sda of=/dev/sdb
Creating a Disk Image
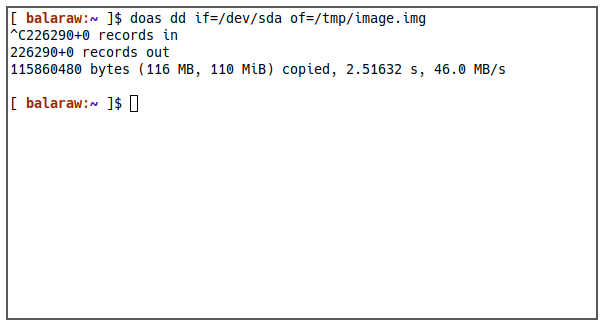
One of the best use cases for the command is creating disk images in the “.img” file format. This is extremely useful for backing up data on your Linux-based system and is likely the quickest and easiest way to back up an entire hard disk.
The logic here is primarily the same in this case, with the if operand representing the “/dev/sda” drive and the of operand representing an “.img” file, where the data from the hard disk will be saved to:
dd if=/dev/sda of=/tmp/image.img
Also read: The Ultimate Guide to Apt and Apt-Get Commands
Saving a Disk Image to a Partition
Creating a disk image with the command is fairly straightforward, but so is the reversed version of that process.
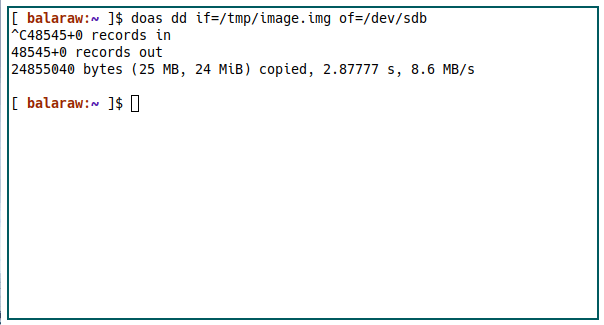
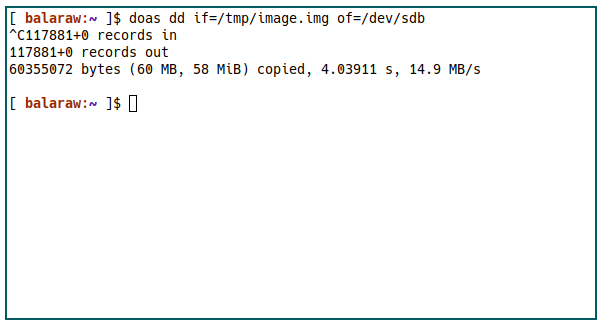
In this scenario, our disk image file is acting as the input file, and our new partition is acting as the output file. The utility is saving the data from our disk image to our “/dev/sdb” partition:
dd if=/tmp/image.img of=/dev/sdb
Also read: How to Use the ps Command in Linux to Kill Process
Creating a Compressed Disk Image
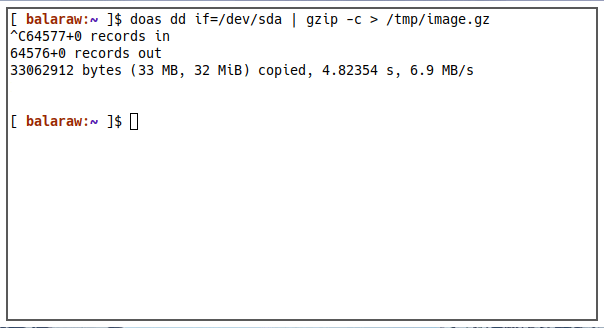
If you create a disk image of a full-size hard disk, you can imagine that the file size of the final disk image will likely be quite large. For this reason, the dd utility has a feature that creates compressed disk images.
A compressed disk image can be created by using the pipe | command. In this case, it is used to take the contents of the input file and perform the gzip command with a -c flag, with the contents being packaged into a “.gz” file:
dd if=/dev/sda | gzip -c > /tmp/image.gz
Also read: How to Use cURL for Command Line Data Transfer and More
Specifying a Block Size
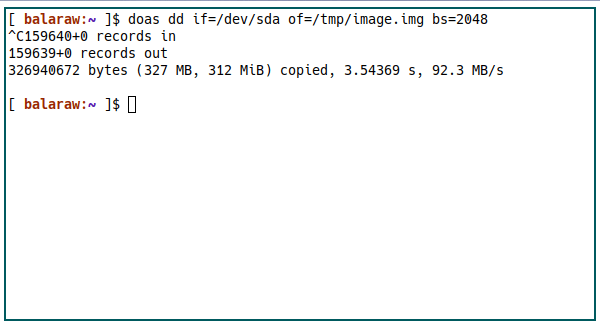
You can also play around with the speed of the dd command’s operation. This can be accomplished using the bs operand, which is used to represent block size. Block size represents the number of bytes dd copies to the output file in a single instance. It is represented using multiples of 1024 bytes, and the default value is set to 512 bytes. The higher the block size is the faster the data will be saved to the output file.
In this case, we are setting the block size to 2048:
dd if=/dev/sda of=/tmp/image.img bs=2048
Block size can also be specified in kilobytes:
dd if=/dev/sda of=/tmp/image.img bs=2K
Also read: How to Use lsof Command in Linux to List Open Files
Wiping a Hard Disk
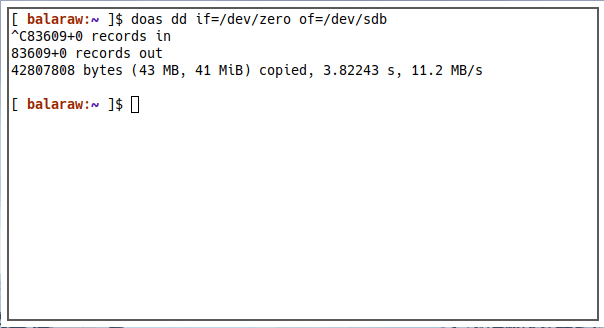
dd can also be used to wipe your hard disk. This is accomplished by reading zeroes or random characters from “/dev/zero” or “/dev/urandom” and saving them to the hard disk/partition, which overwrites the data on it. This is extremely useful when you want to make sure your data can’t easily be retrieved after you have sold or otherwise disposed of your hard disk.
Overwriting a hard disk using zeroes:
dd if=/dev/zero of=/dev/sdb
You can also overwrite the device by using random characters:
dd if=/dev/urandom of=/dev/sdb

Also read: How to Run Bash Commands in the Background in Linux
Creating a Bootable USB Drive
The creation of bootable USB flash drives using “.iso” files with the command is simple:
dd if=os.iso of=
Cloning Specific Partitions using dd
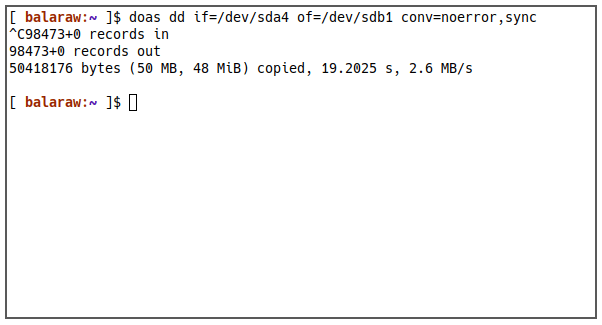
Another brilliant use for dd is cloning active partitions on your Linux system. Unlike an IMG file, cloning allows you to create an exact copy of a particular partition and use it immediately. This can be useful if you have a multi-disk setup and you want to create redundant partitions for your system.
To clone the partition from “/dev/sda4” to “/dev/sdd1”.
dd if=/dev/sda4 of=/dev/sdb1 conv=noerror,sync
The conv parameter allows you to include additional options to modify dd’s behavior. This can be as simple as converting a filename to uppercase or something complex such as changing a block’s property. In this case, I am using noerror and sync:
- The “noerror” option tells dd to continue copying through a device file even if it reports device errors. This can be helpful if the device where your partition lives is already faulty, because “noerror” ensures that dd will copy all recoverable data in that partition.
- The “sync” option tells dd to pad every incoming data block to the copy buffer. What this means is that dd will make sure that every bit of data that it can copy is exactly the same between the source and the destination. This is to ensure the integrity of the partition data that you are cloning.
Also read: How to Use the lp Command in Linux to Print Files From Terminal
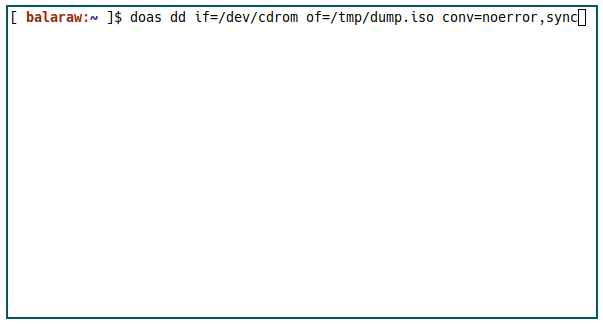
Dumping the Contents of a CD using dd
It is also possible to use dd as a dumping tool for disk contents. Similar to an IMG file, you can do this by using a disk drive as the input and the .ISO extension as the output. Consider the following example:
dd if=/dev/cdrom of=/tmp/dump.iso conv=noerror,sync
This command will tell dd to load the CD-ROM device and copy its contents to an ISO file.
Once done, you can use the file command to verify whether the dumped file is an ISO 9660 image:
file /tmp/dump.iso
Burning the ISO Dump to CD
Next, you can use dd to create duplicates of the ISO file that you just made. To do this, you need to insert a blank disc to your drive and use “/dev/cdrom” as dd’s output file. With that, you can then run the following command to properly burn the ISO file to disk:
dd if=/tmp/image.iso of=/dev/cdrom obs=32k seek=0
This command does not attempt to use any error bypass or integrity checks. Instead, it sets two options that are specific to writing to CD-ROMs:
- The “obs” option sets the size of the blocks that dd is going to write to the disk. In this case, the command uses 32 kilobytes as a baseline for optical media transfers.
- On the other hand, the “seek” option tells dd to set the start of the transfer to a specific data block. To properly transfer to a CD-ROM, it is important to set this to 0 so that dd will immediately write to the first disk sector.

Also read: 8 Useful and Interesting Bash Prompts
Frequently Asked Questions
Is it possible to see the progress of a dd operation?
Yes! It is incredibly easy to look at the progress of a dd operation. To do this, all you need to do is include the status parameter at the end of your dd command:
dd if=/dev/sda4 of=/dev/sdd1 conv=noerror,sync status=progress
The “progress” option tells dd to print the blocks that it is currently copying to the standard output, which effectively allows you to look at the command’s progress. Aside from the “progress” option, the status parameter also accepts two additional values:
- Noxfer: The “noxfer” value is similar to “progress” but it does not print the overall transfer information at the end of the command. This can be useful if you are using dd commands as part of a large UNIX pipe.
- None: The “none” value tells dd to not print any information except errors when it’s running. This is helpful if you are running scheduled dd tasks such as creating backup IMG files for currently active partitions.
Is it okay to always set a high block size to speed up transfers?
No. While setting a high block size will certainly speed up dd’s transfer rate, doing this will not ensure that the device you are writing to initializes properly. For example, setting a high block size for optical media such as a CD-ROM or a DVD-ROM can lead to unreadable disks when played back on a disk player.
A good rule of thumb is to use high block sizes only when dumping from media such as discs and flash drives. Further, it is also good practice to set the maximum block size to 2048 kilobytes only. Doing this makes sure that you can still place back the content of a disc to a CD or DVD.
I tried to create a bootable USB drive but it did not boot. Is dd not working?
No! The most likely reason it did not boot is that the file that dd copied to the USB drive is not a bootable file. For example, writing a CD installer to a USB drive will not set the proper flags to make it bootable.
One way to make sure that it is bootable is to check its properties through the file program. For example:
file /Downloads/ubuntu-21.10.iso
From there, you then need to look at the properties that are printed in the standard output. A bootable file should either be a disk image or an ISO hybrid file.
Image Credit: Unsplash


