Post-lockdown, with working and schooling from home as a matter of routine, more people are turning toward video conferencing as a way to keep in touch and get things done. Tools like Google Meet, Skype and Zoom mean we can keep in touch with people outside the confines of our home, across cities, time zones, and even countries, making the world smaller and allowing for remote collaboration. If you’re looking for another great Raspberry Pi project, I urge you to try this one. This tutorial shows you how to turn your Raspberry PI into a video conferencing station.
Also read: 10 Video Conferencing Tips for Smooth Remote Work
Gathering Supplies
Here’s what you will need:
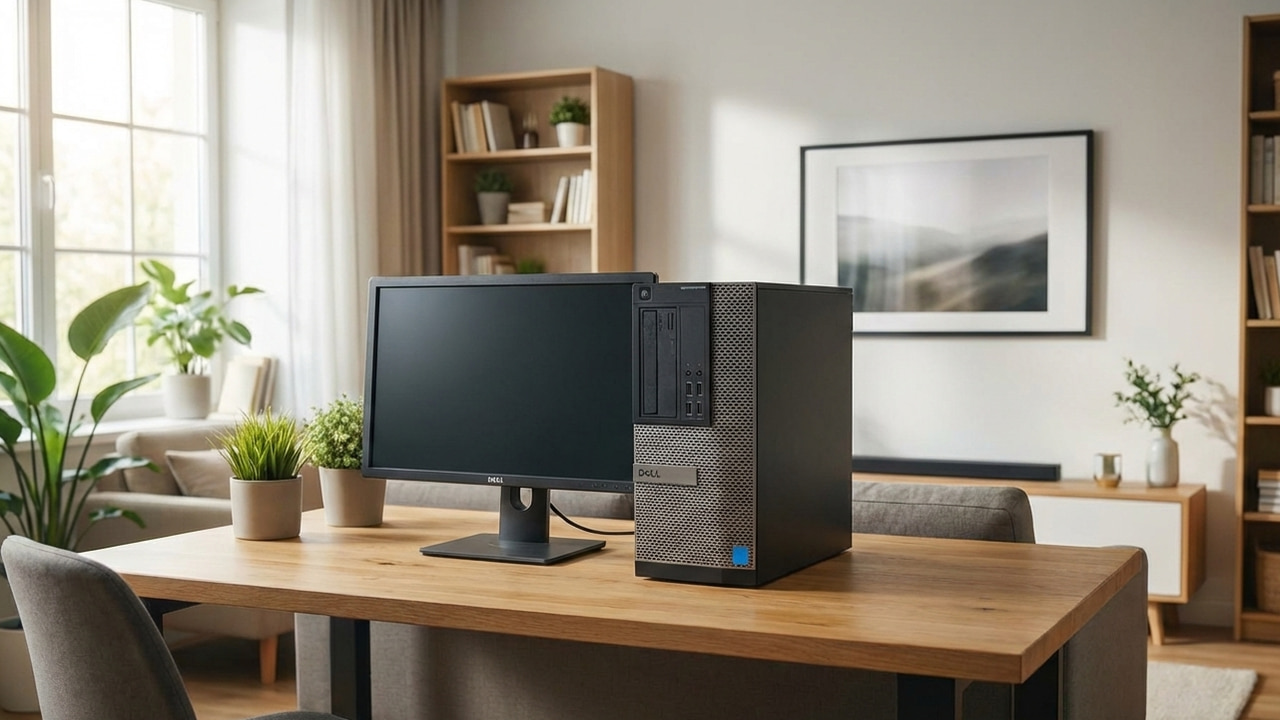
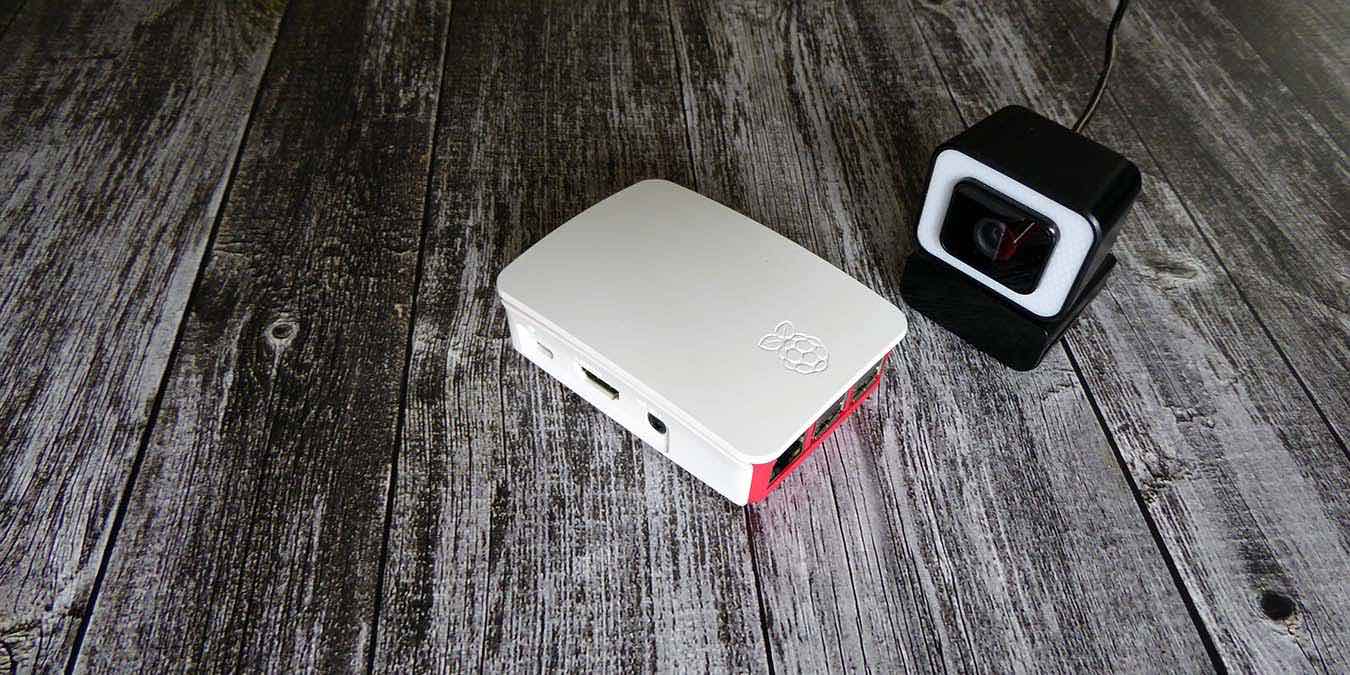
- Raspberry Pi. A Raspberry Pi 4 is highly recommended, as its SoC and graphics are much more powerful, which should provide good performance in video conferencing meetings. Most Raspberry Pis will work on a basic level, but at least a Pi 3 is preferred.
- External monitor (preferably with audio output)
- Keyboard/mouse
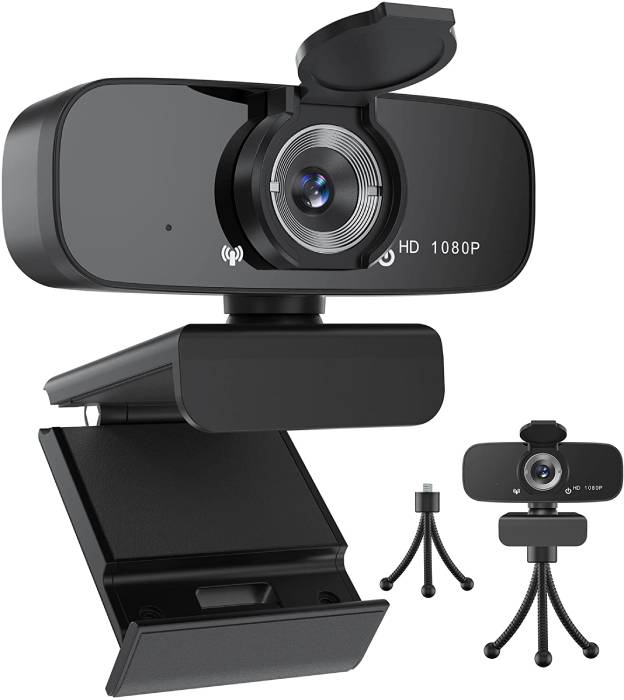
- USB Webcam. You can use the Raspberry Pi Camera, which is quite simple to set up, but I would strongly suggest an external USB webcam. Given the plug-and-play nature of USB, you can just plug the webcam in, and it will play.
- Headphones (optional). Audio on a Raspberry Pi is generally output to the monitor, but you’re welcome to use headphones through the audio jack if you want to keep at least half of your conversation private.
- Microphone. This is required for video conferencing. It can be bundled with the headphones or used as a standalone device.
Also read: How Much Bandwidth Does Video Calling Use?
Setting Up Your Pi
To get started, you need to first set up your Raspberry Pi with Raspberry Pi OS with Raspberry Pi Imager. You are welcome to use any other Pi OS, but the Chromium on Raspberry Pi OS makes use of hardware acceleration, which will make the performance of any video conferencing meeting drastically smoother.
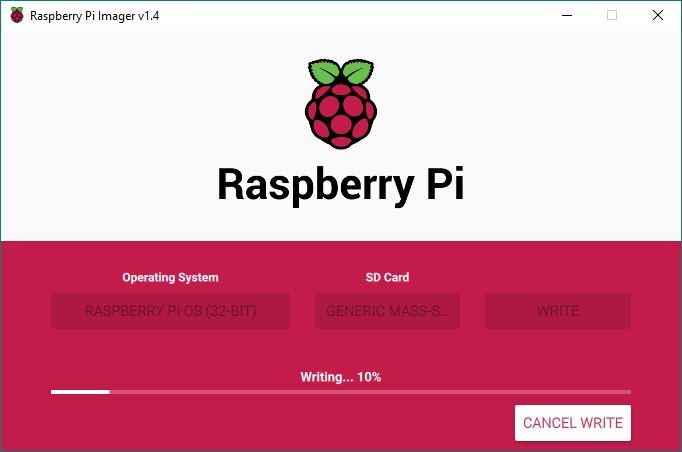
Insert the SD card into the Pi, attach your Pi to the monitor and power up.
Your Pi should be able to connect to Wi-Fi through the PIXEL GUI, but if you’re having trouble, check out our guide on how to set up Wi-Fi on a Raspberry Pi. Obviously, if your Wi-Fi is dubious, it’s best to connect the Pi to the network with an Ethernet cable for maximum speed.
Tip: Your Raspberry Pi can act as a Wi-Fi bridge to share an internet connection with offline devices.
Logging in to a Video Conference
Many of the following tools will simply be run through the Chromium browser that comes baked into Raspberry Pi OS. However, there are some native applications that will run on the ARM SoC on the Pi.
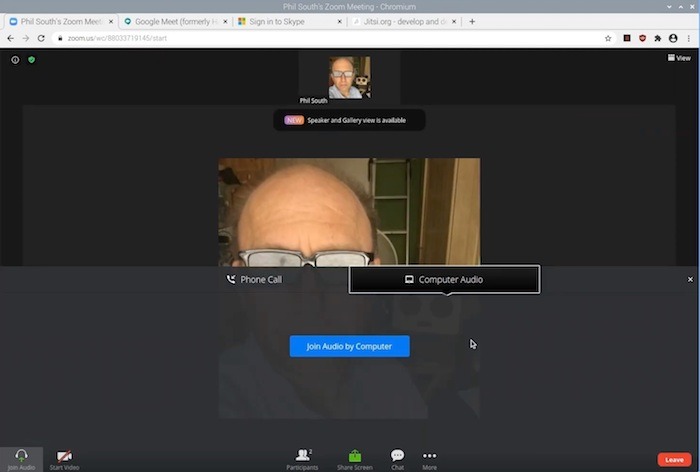
Zoom
Zoom is one of the first browser-based options. While Zoom does provide native Linux apps, they are not compatible with the ARM architecture so not suitable for use in a Pi.
To join a Zoom meeting:
- Click on the link, and when you’re prompted to open “xdg-open” for the app, click “Cancel”.
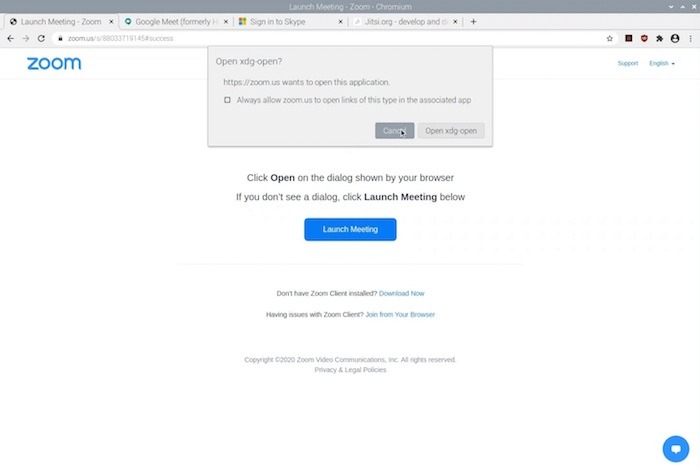
- Click “Join from your browser.”
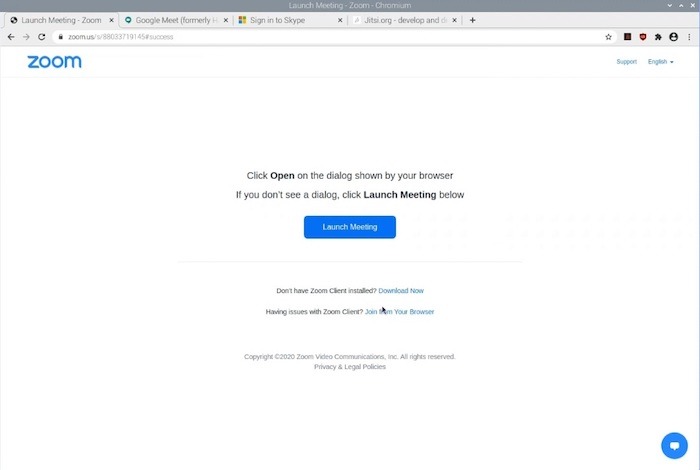
- You should now be able to jump right into your Zoom meeting through Chromium.
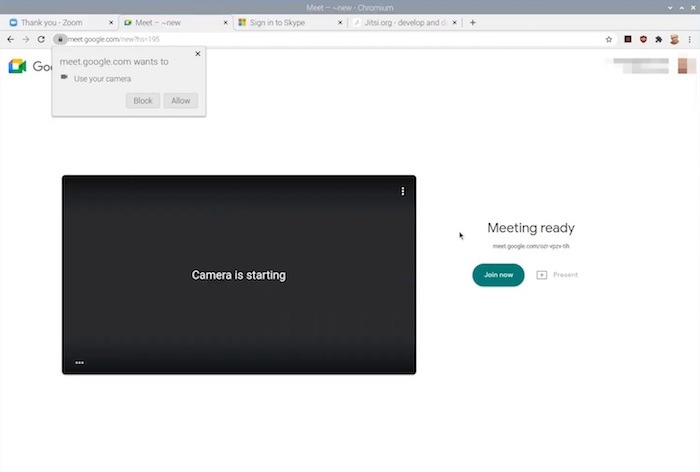
Google Meet
Google Meet also works from your browser, so there is no installation.
- Open Chromium. Click the Google Meet link that you were sent.
- At this point, you may have to log in to your account.
- If you are logged in, you are good to go. Logging in on the app works the same as it does on via a browser.
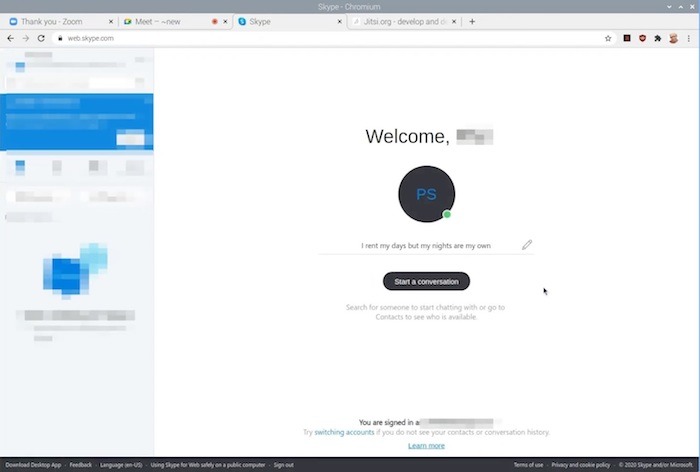
Skype
For Skype users, once again there isn’t any desktop app for the ARM architecture, but you are able to join a Skype meeting through your Chromium browser.
- Navigate to https://web.skype.com. This is the web portal for the Skype network.
- Sign in to your account. This grants you access.
- At the prompt, enter your meeting information and enter the meeting as normal.
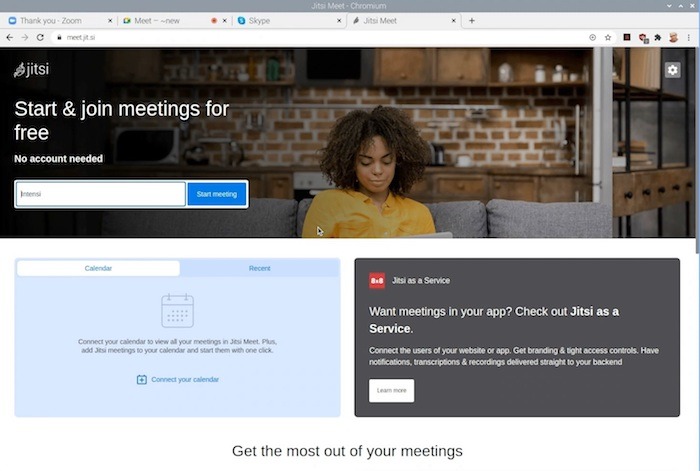
Jitsi
Jitsi is a free and open-source videoconferencing browser app that works magnificently for most applications. If you’re just setting up a call with your friends or family, I’d strongly recommend Jitsi.
The difference with Jitsi is that while it works on a browser, it is in fact a browser app so you have to install it.
- Simply install the app when prompted, and it will add it to Chromium.
- To set up or join a meeting, just type in the four-word code. These are randomly generated to provide you with a measure of security.
- If you have an invite, click on the meeting, which should look like https://meet.jitsi.si/*. From there, you’re all set: you can jump right into the meeting.
Also read: A Slew of Zoom Updates Includes Twitch Integration
Hardware Essentials
While the Raspberry Pi comes with the computer power you will need to do video conferencing, it does not ship with a camera. You have to add one. There are several options, but the main two are: Raspberry Pi Camera or USB camera.
The first is fully compatible with the Pi and easy to obtain but has a considerable amount of setup you have to do. It’s not ideal unless you are a hobbyist.
The best option is a USB webcam, which is freely available and requires no setup, barring plugging it in to an available USB socket. The camera will be available to your video conferencing app, but it may ask you to grant permission to access the camera.
The camera will usually come with a built-in microphone, but generally, this is very poor quality. I recommend that you get a cheap USB headphone and microphone headset instead, as video conferencing software on the Pi may not be able to offer the same level of noise cancelling as desktop or mobile apps. It’s better that you keep your audio and that of your caller separate. It also affords a much better level of security for your conversation.
Also read: How to Use a Piezo Speaker With the Raspberry Pi to Play Sounds
Frequently Asked Questions
Will a Pi 3 or lower be good enough to do this?
Sure, but doing it and being good at it are two different things. Heavy use of video and network requires grunt. The Pi is really good at video considering for its size and the power of its CPU, the SoC or System on Chip. It does this using a separate graphics processor. The power is good but not unlimited. The more power you can throw at the process the better. Use what you have.
Is it essential to have a fan for cooling?
Most Pis run hot when they are under pressure. Usually, this is not an issue, but Pi 4s run really hot. If you touch the chip while it’s doing something intense, it will leave a mark. Cool it with fans or heat sinks to be on the safe side.
Can I use Microsoft Teams?
No. Microsoft Teams is a Windows client, and a native Pi version of it has not been offered as of yet. There is, however, an unofficial Microsoft Teams client for Linux that might work with a bit of fiddling. While it can be hotwired using a web app that wraps it as a standalone application using Electron, that’s too many mights and maybes for my taste. While you may be able to make it work in some context, a better question is why would you want to.
Featured image and all screenshots taken by Phil South