Microsoft, for some reason, decided to make Windows more user-friendly by giving us less options to manage Windows updates. While there isn’t an easy-peasy checkbox to hide an update anymore, you can hide Windows updates using PowerShell in Windows.
Accessing PowerShell in Windows
Press Win + X and select Windows Terminal (Admin). Please note that if you don’t have an account with admin rights, you may not be able to hide Windows updates.
Windows Terminal lets you access both PowerShell and Command Prompt from a single interface. By default, it’s set to PowerShell. Alternately, you can install PowerShell separately from Microsoft, but I find Terminal works well enough. I also love all the ways I can customize Windows Terminal.
Unrestrict Access to PowerShell
By default, your user account has restricted access, and you can’t run any external scripts in PowerShell. To run external scripts, you need to set the execution policy to Unrestricted using the following steps.
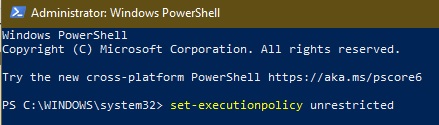
Enter the below command in PowerShell and press the Enter button.
Set-ExecutionPolicy Unrestricted
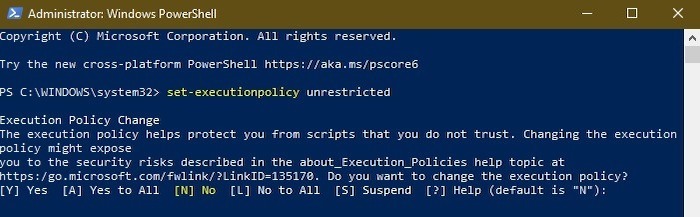
Confirm the change by pressing the A key followed by Enter on your keyboard. From this point onward, your user account has unrestricted access.
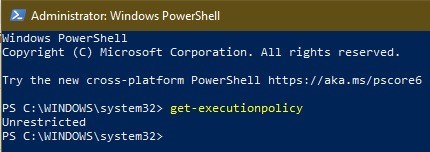
You can check the current execution policy of your user account using the below command. As you can see in the screenshot below, I have unrestricted access.
Get-ExecutionPolicy
After changing the execution policy, it’s time to finally start hiding pesky updates you don’t want to deal with.
Install Windows Update Tool
By default, Windows PowerShell doesn’t include the commands to manage Windows Updates. Instead, you have to install the PSWindowsUpdate module.
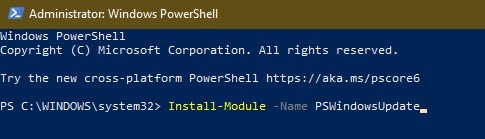
Open PowerShell and enter:
Install-Module -Name PSWindowsUpdate
Type Y to confirm that you also want to also install NuGet, which is required to use PSWindowsUpdate. Please note that you must be connected to the Internet to do this.
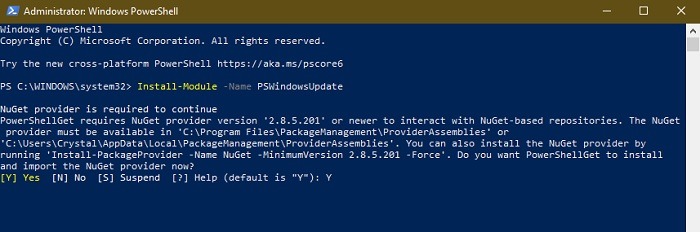
If you get a warning about an untrusted repository, type Y to confirm you want to continue.
My installation only took a few minutes, but it can vary slightly. After that, your screen should return to a normal PowerShell prompt.
Hiding Windows Updates Based on Title
Before you can hide updates using PowerShell, you need to see a list of what’s currently pending and the name of the update to hide it.
Use the below command to get a list of all the available Windows updates.
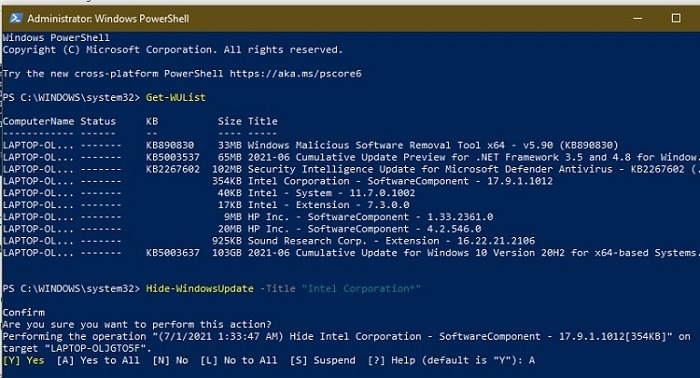
Get-WUList
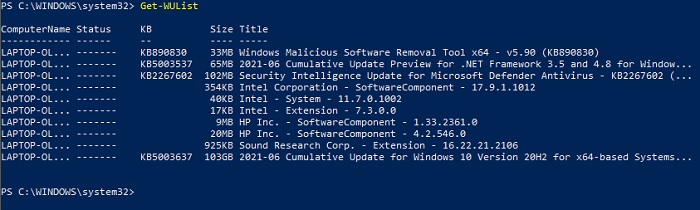
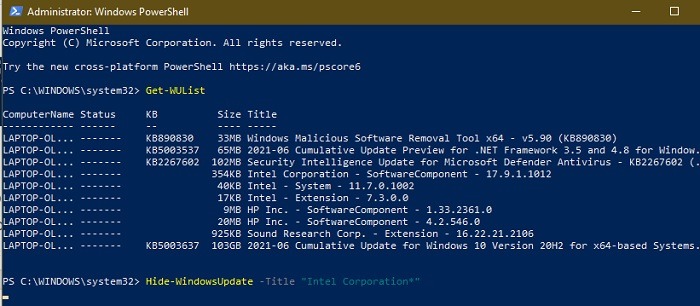
Find the update you want to hide and note the title of the update – you’ll need the title if the update doesn’t have a KB number. You can also use the KB number. (See the next section.) Enter the following command and press the Enter button to hide the Windows update. Don’t forget to replace UpdateName with the actual title, but keep the quotes.
Hide-WindowsUpdate -Title "UpdateName*"
We can use the wildcard (*) before and after the title as long as part of the title is correct and unique. If you don’t want to bother with the wildcards, just enter the full update title. Remember, PowerShell lets you copy and paste, so just copy and paste the title versus trying to type it all out.
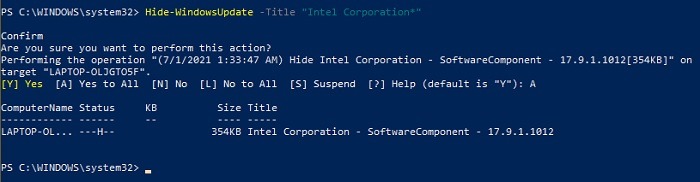
Confirm you want to hide the update by pressing the A key followed by Enter on your keyboard.
This action hides the target Windows Update. Confirm that by looking at the letter H, which stands for Hidden, under Status.
Hiding Updates Based on KB Number
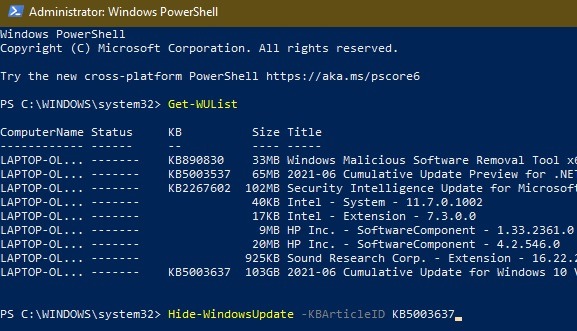
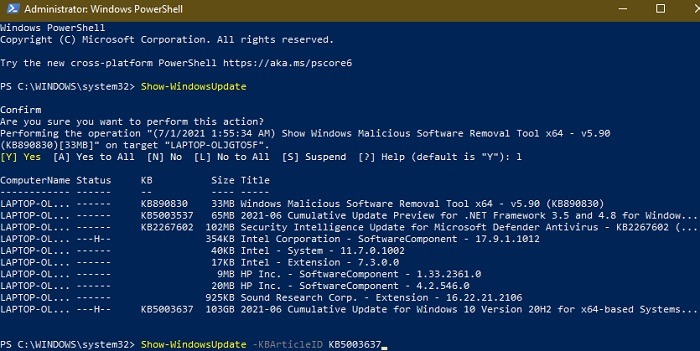
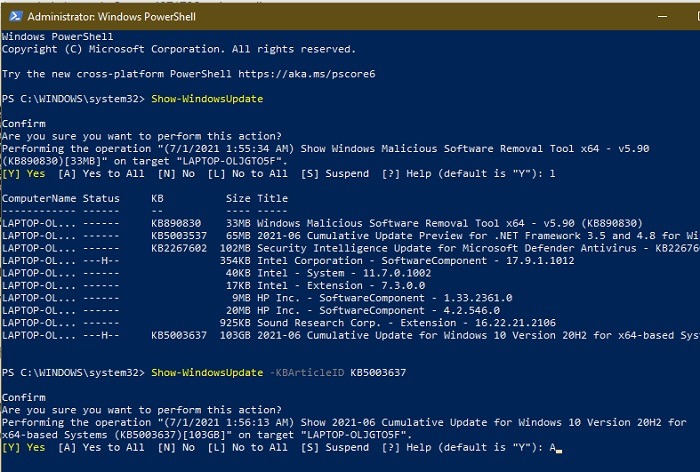
Alternatively, you can hide a Windows update using its KB Article ID with the command below. Of course, not every update has a KB number, so you’ll need to use the Title method for those. Don’t forget to replace KBNumber with the ID of the update you want to hide.
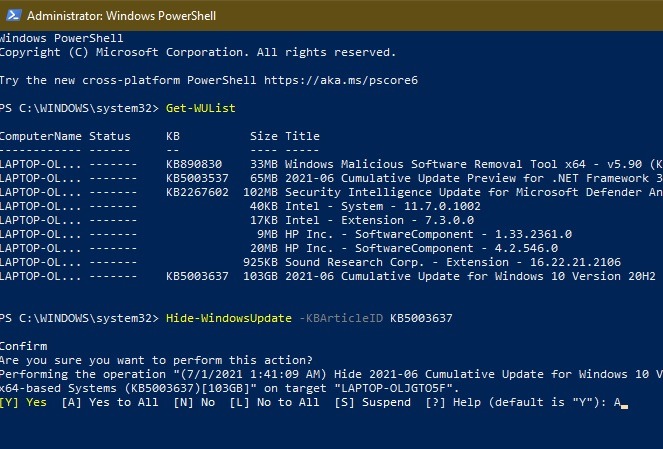
Hide-WindowsUpdate -KBArticleID KBNumber
Enter the letter A and press the Enter button to confirm your choice.
Unhide Windows Updates
If you’re like me, sometimes you just need to hide a Windows update temporarily. Hiding isn’t permanent, so you just need to unhide what you’ve hidden.
The original Get-WUList doesn’t show hidden updates, so you need a different command in PowerShell.
Use the following command to display the update list:
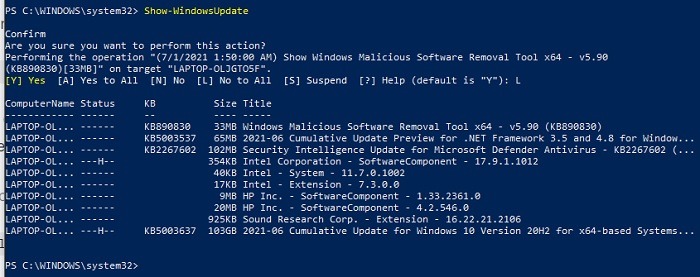
Show-WindowsUpdate
Type L to say No to all. Otherwise, you’ll view details about each individual update, then see a list of all updates, including hidden ones.
Use one of the following commands to unhide them, replacing KBNumber with the actual KB number or UpdateTitle with the title. Only use one command or the other, not both at the same time.
Show-WindowsUpdate -KBArticleID KBNumber
Show-WindowsUpdate -Title UpdateTitle
Simply confirm the action, and you will have your update back.
If you’ve hidden numerous updates and want to show them again, use the following command:
Show-WindowsUpdate
Type A to show all updates, including any you’ve hidden. This is a quick way to restore all hidden updates at once versus entering individual titles or KB numbers.
What You Can and Can’t Do via PowerShell
Before you get too excited about being able to hide updates using PowerShell, there are a few things to keep in mind. This shouldn’t be seen as a way to stop all Windows updates. As you can see in the steps above, you’re hiding individual updates one at a time, not all updates at once.
Plus, you’d need to visit PowerShell, likely weekly, to check for any new updates that may have been released. This will get tedious quickly, and you’re likely to miss some.
Use PowerShell only as a method to hide certain updates that you know you don’t want at all, or use it as an indefinite pause on specific updates, such as those where users are reporting issues after updating.
If you need to pause all updates and don’t want to enter each one manually in PowerShell, you have two other options. One of them is Settings -> Windows Update -> Pause Updates.
To pause updates longer than the five weeks listed within Windows Update, you can also set your Internet connection to metered. By default, Windows won’t download updates automatically on metered connections.
Go to Settings -> Network & internet -> Wi-Fi or Settings -> Network & internet -> Ethernet, depending on your connection.
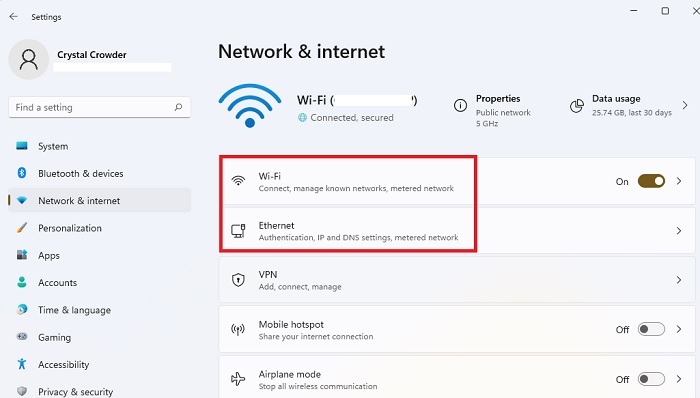
Select your network name and set Metered connection to On.
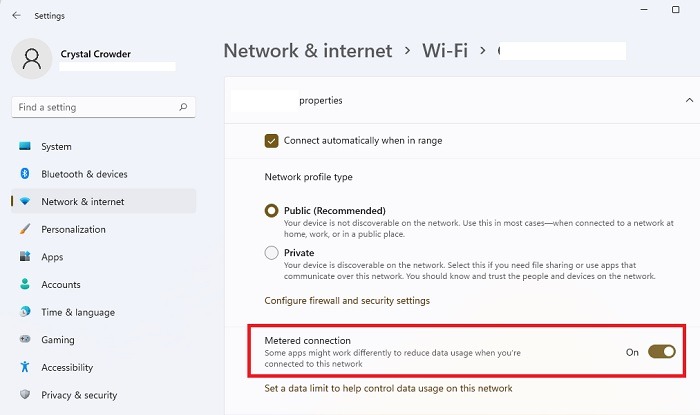
You’ll receive notifications about new updates, but you have to manually choose to download them. This also gives you a longer window to review updates and see whether there are any you want to hide via PowerShell.
Hide Windows Updates With a Third-Party Tool
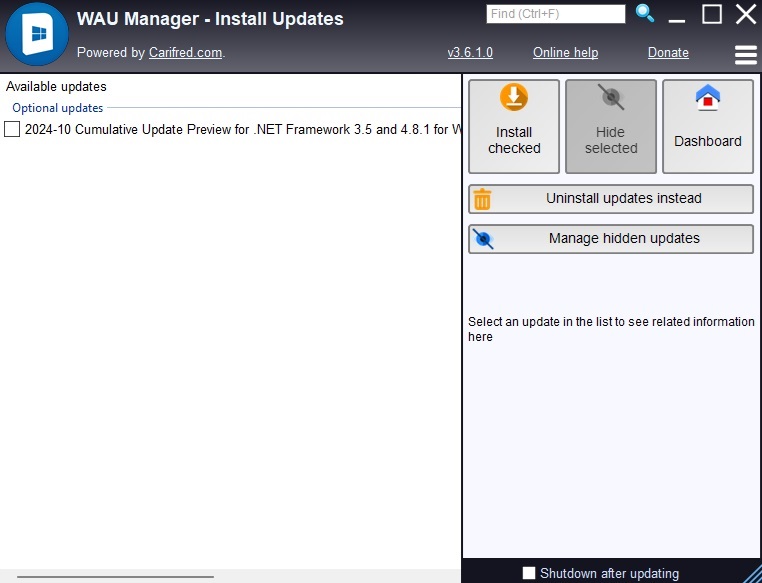
I know it’s frustrating only hiding one update at a time. So, if the PowerShell method isn’t working for you, try WAU Manager. It takes place of the built-in Windows Update manager and gives you a few more options, such as hiding multiple updates at one time.
Once installed, check the box to use WAU Manager versus Windows Update, otherwise Windows Update barges in and overrides anything you did in this app. Choose your settings and press Update Windows now. This gives you a list of currently available updates.
Check any updates you want to hide and click Hide Selected. Please note you can’t hide optional updates since Windows doesn’t install these automatically. Do the same process and select Manage Hidden Updates to unhide updates.
If you ever download a troublesome Windows update, try rolling it back through Windows Update. Or, use SetupDiag to fix the issue. You can also try resetting the Windows Update components. And, if the Windows Update service is gone, use these steps to fix it.
Image credit: Unsplash