
Every time you create a new user account in Windows, it will set a default user account picture. We will show how you can change the default user account picture in Windows. You can use any picture of your choice. On top of this, you can even standardize the default user account icon by preventing users from changing it.
Change Your Account Picture in Windows
Windows users can update their default account picture through the Settings app, the user accounts picture folder, or the online Microsoft dashboard.
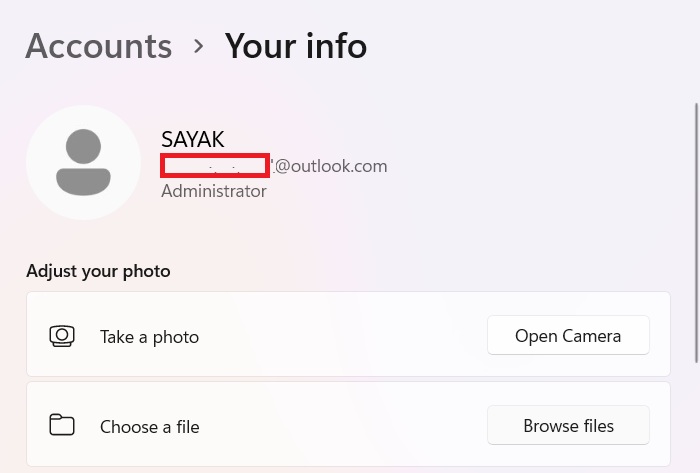
To access your profile photos, open Settings -> Accounts -> Account settings -> Your info.

Go to Adjust your photo section. Here, you can change the default user account picture to any other picture of your choice by clicking Open Camera to take a photo, or through Browse files.
The new image will be displayed immediately on the accounts page.
In the past, you could also change the user account picture from Control Panel. This option has been disabled now.
From the User accounts Picture folder
Windows stores the default user account icon in the PNG format within a system folder in a variety of sizes. By replacing these default pictures with the icon of our choice, we can change the default account picture.
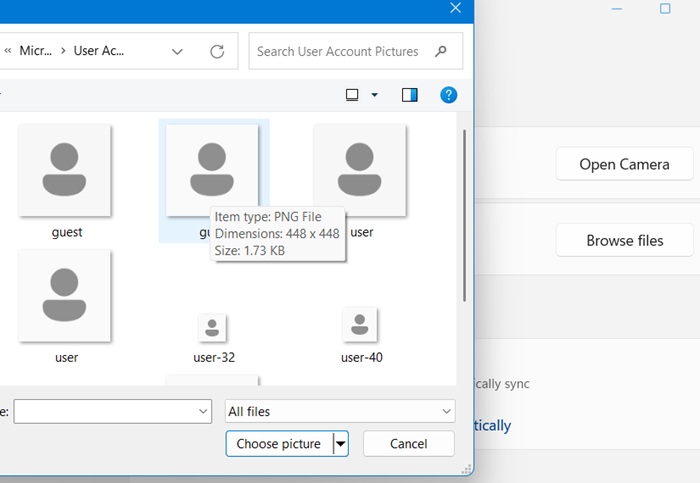
Launch File Explorer and go to the %ProgramData%\Microsoft\User Account Pictures folder. Here you will see all the default user account icons. We need to replace the user icon image files with another profile pic of the same dimensions.
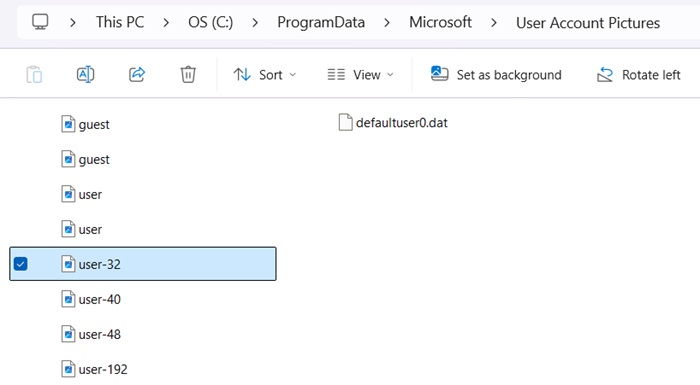
First, download the picture or icon of your choice that is at least 512px x 512px. Make sure that the width and height are the same. Now, create five copies of the icon and resize and rename them. You can use MS Paint for quick resizing into any of these dimensions.
- 448 x 448 – user.png
- 192 x 192 – user-192.png
- 48 x 48 – user-48.png
- 40 x 40 – user-40.png
- 32 x 32 – user-32.png
In the next step, simply copy and paste the default icon pictures for above dimensions into the User Account Pictures folder. You’ll need to tap Replace the file in the destination to enable the new choices. This will overwrite the older files, so creating a backup is essential.
The backup files can be saved in any folder from which they can be easily retrieved. Alternatively, you can use the .BKP extension for backups. Rename “user.png,” “user-192.png,” “user-48.png,” “user-40.png,” and “user-32.png” to “user.png.bkp,” “user-192.png.bkp,” “user-48.png.bkp,” “user-40.png.bkp,” and “user-32.png.bkp” respectively. You can ignore the “user.bmp” file.
Note: If you don’t want to go through the renaming process, you can simply delete or replace them. But if you do that, you might not be able to restore the default icons when needed. You can simply copy the icons from another system though.
From the Microsoft account dashboard
By default, a Microsoft account profile picture will sync to your Windows device. This functionality is also available for users with access to Microsoft 365, as well as for those who keep their OneDrive or SharePoint synced to their computer.
Log in to your Microsoft account online. Once the dashboard appears, navigate to Your info. From there, you can select Change Photo to update your Microsoft user account picture.

A new pop-up window will open where you can browse your PC to add a new picture to your profile. Click Save to confirm. After that, Update your Profile to save these changes to your Microsoft account.
Related: fix the user profile service failed the sign-in error in Windows.
Delete a Windows User Account Picture
You can delete a Windows user account picture from the AppData folder or the Microsoft account dashboard.
Open File Explorer and type %AppData% in the address bar, then navigate to the Microsoft folder. Alternatively, you can access it from This PC by following the administrator user path to the Roaming folder.
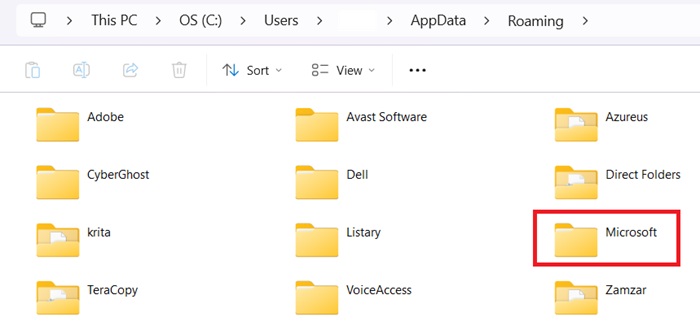
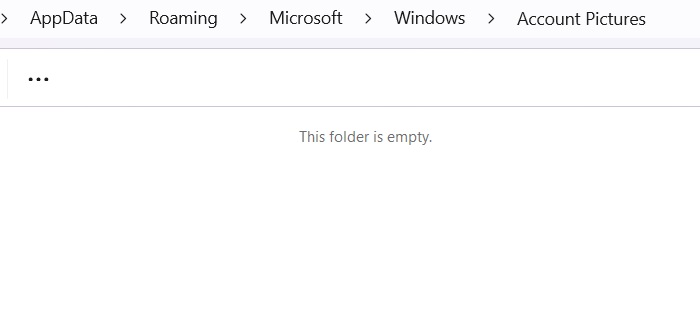
Once here, navigate to the Windows -> Account Pictures folder, where you can delete any pictures you no longer need. If this folder is empty, as it is on my PC currently, it indicates that the images are synced through Microsoft cloud. This brings us to the next method for deleting pictures.
Also read: did you know you can remove apps from the Open with list from your right-click on Windows files?
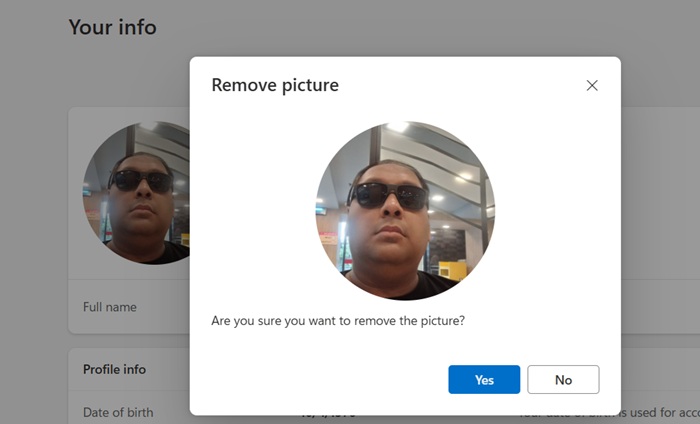
Return to your Microsoft account online dashboard. Click on Your info, then select Change Photo. Your current profile photo will be displayed on your Windows device. Click Remove Photo, and you will be prompted with Are you sure you want to remove the picture? Click Yes to confirm.
Restore Default Account Picture
To restore the Microsoft default account picture, make the necessary changes in the Settings app and in the default User Account Pictures folder. Firstly, go to Settings -> Accounts -> Account settings -> Your info.
Now, upload the old default image using Browse files. To do this, navigate to the %ProgramData% folder, then go to the User Account Pictures folder. Here, you can select any guest or user image in PNG format (ignore the BMP.) These would be the default wireframe account pictures for your device.
Restoring or reinstating your user account picture to its default will also update it in your Microsoft account. This can be beneficial for those who prefer not to display their photos online.
Also read: learn the difference between a local account and a Microsoft account.
Prevent User From Changing the Account Picture
If you don’t want users to change your user account picture (which is one among many pranks someone can play on Windows PC users,) you can block that option itself. There are two ways to do it, through Local Group Policy Editor, and Registry Editor.
Open the Start menu, search for “gpedit.msc,” right-click on it and select the option Run as administrator.
In the group policy editor, go to Computer Configuration -> Administrative Templates -> Control Panel -> User Accounts. In the right panel, double-click on the Apply the default account picture to all users policy to open a new policy properties window.
Next, you need to select Enabled in the policy properties window, and click on the OK button to save the changes.
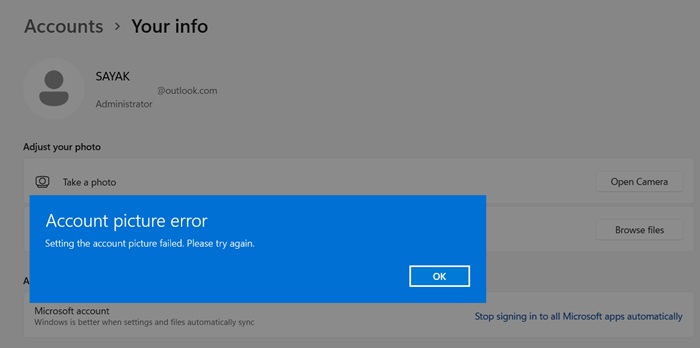
Restart the system. All users will no longer be able to change the default account picture. Instead, you will get an Account picture error while trying to change the UAC picture from settings.
If you want to revert back, select either the Disabled or Not configured option in the policy properties window.
If you don’t have access to the Group Policy Editor, you can do the same thing via Registry Editor. Search for “regedit” in the Start menu, right-click on it and select the option Run as administrator.
In the Registry Editor, go to the following location:
HKEY_LOCAL_MACHINE\SOFTWARE\Microsoft\Windows\CurrentVersion\Policies\Explorer
In the right panel, right-click and select “New -> DWORD (32-bit) Value.” Name the new value as UseDefaultTile. Double-click on the value, set the Value Data as “1” and click on the OK button.

If you want to revert back, either change the value data to “0” or delete the UseDefaultTile value itself. Make sure you take a backup of the Windows registry both before and after any of these changes.
In this guide, we’ve explored all the default methods to change the User Account Control (UAC) picture in Windows. If you face any challenges while modifying your administrator permissions, you might consider using a super administrator account, which offers additional privileges.
Image Credit: Pixabay. All screenshots by Sayak Boral.