Knowledge assets can come from external sources, your inner thoughts, and experiences. Microsoft OneNote is a flexible, personal information management app to help you capture and organize those knowledge assets. This tutorial shows you different methods to capture information in OneNote.
Tip: OneNote productivity templates can give you a head start on new projects, planning, or note-taking. Also check out our top resources for free OneNote templates.
1. Capture Web Page with OneNote Clipper
OneNote Clipper is a browser extension for Chrome and Firefox to capture, annotate, and save Web content. With it, you can clip articles, recipes, products, and anything that interests you.
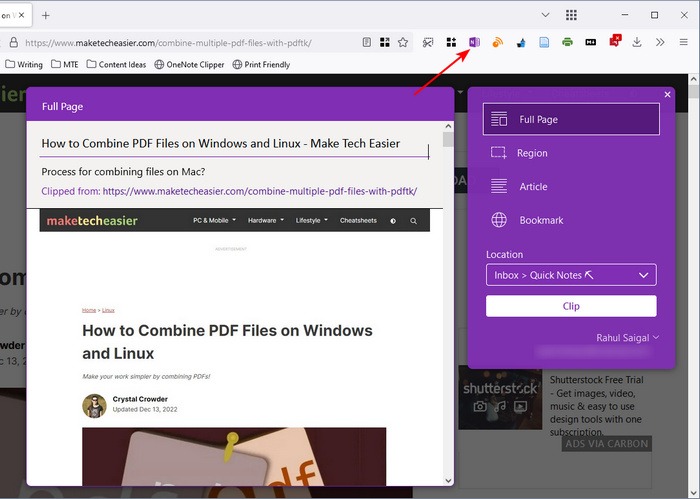
- Open the Web page you want to clip and click “OneNote Web Clipper.” In the purple pop-up window that appears, choose one of the following:
Full Page: it captures the Web page as a screenshot image. Choose this option if you want to preserve the content you’re clipping.
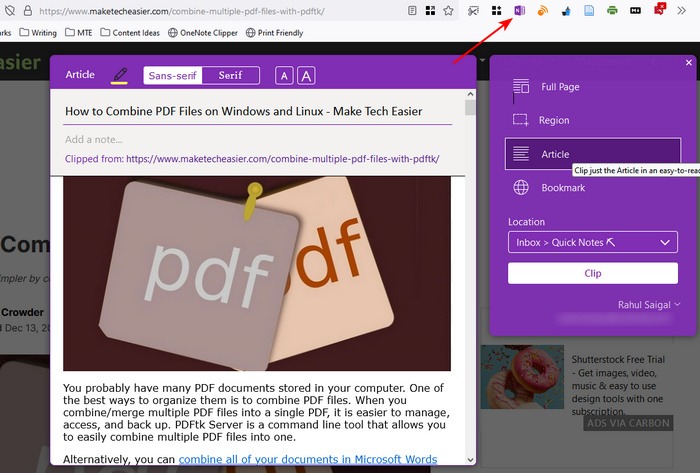
Article: this option is dynamic and intelligently detects the content you want to clip. If you’re trying to save a recipe, it’ll show up as “Recipe” instead of “Article.” You can choose this option to save the Web content with editable text and images.
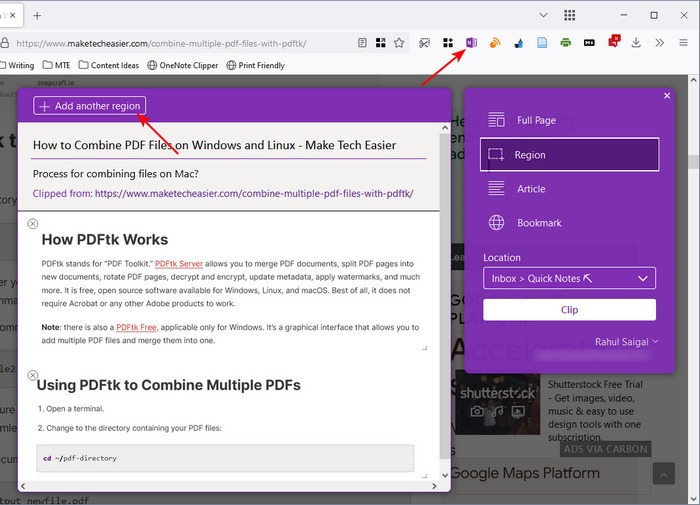
Region: it lets you capture a selected region of the Web page as a screenshot image. Drag a selection with the mouse, then release to capture. Click “+ Add Another Region,” scroll down and repeat the procedure.
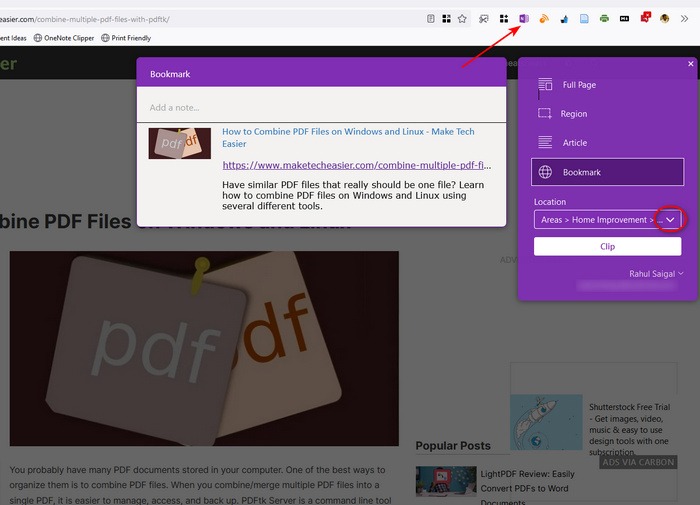
- Click the “Location” drop-down menu to select the notebook section and click “Clip.”
Tip: Is OneNote not your thing? check out these free Microsoft OneNote alternatives.
2. Send Notes to OneNote via Email
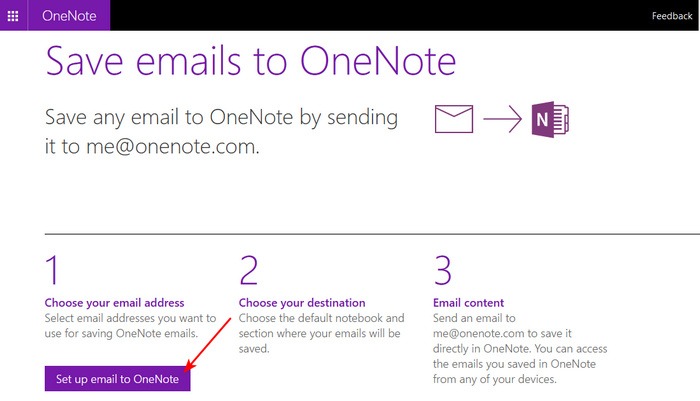
To remove the limitation of web clipper, you can send anything to OneNote via email. It includes email messages, receipts, and travel itineraries. By default, OneNote will provide you with a special email address (me@onenote.com) to capture information.
- Head to Email to OneNote and click the “Set up email to OneNote” button.
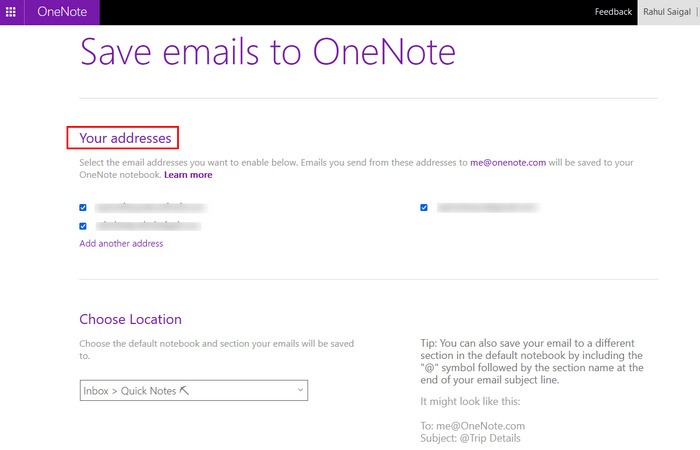
- Sign in to your Microsoft account to open the “Save emails to OneNote” page, then, select the email addresses that OneNote should use to send messages.
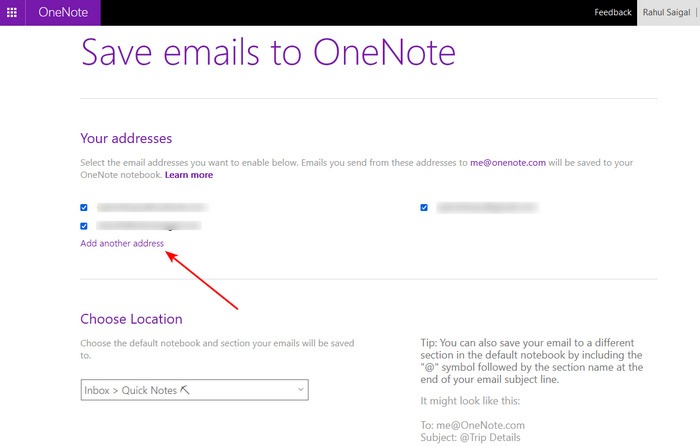
- By default, the Outlook address is added, and you can retain that, if that’s what you prefer. Click “Add another address” to open a new page.
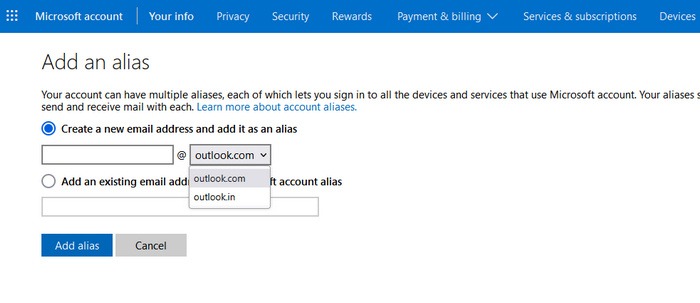
- If you decide to use another email address (be it your Gmail or iCloud account), add and configure the alias from which this service should accept email messages.
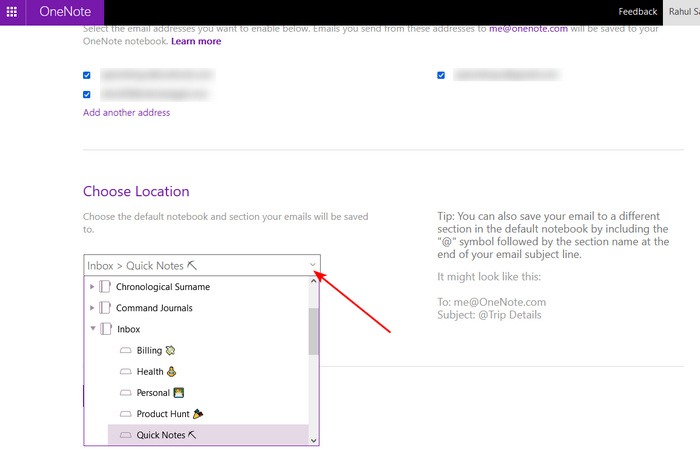
- Under “Choose Location,” click the drop-down menu to select the default notebook and section of your emailed notes, then click “Save.”
Send an Email to OneNote
You can email “me@onenote.com” with notes and links to yourself.
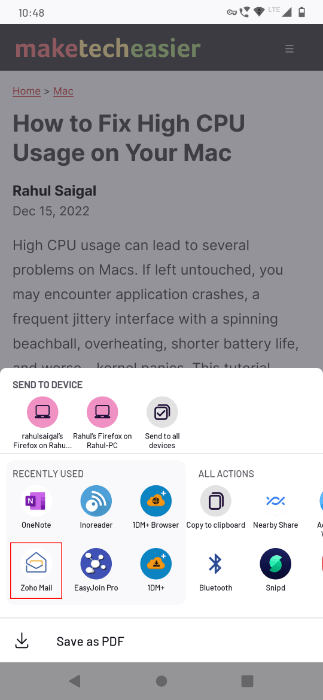
- Open any web page in the mobile browser of your choice. Tap “More menu → Share” and choose your email app.
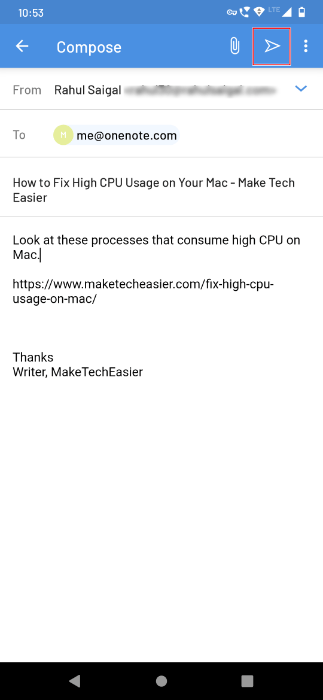
- In the “To” field, type in “me@onenote.com,” add some notes into the body of the message, then tap “Send.” OneNote will automatically clip the article as a text and full-page screenshot.
Forward Email to OneNote
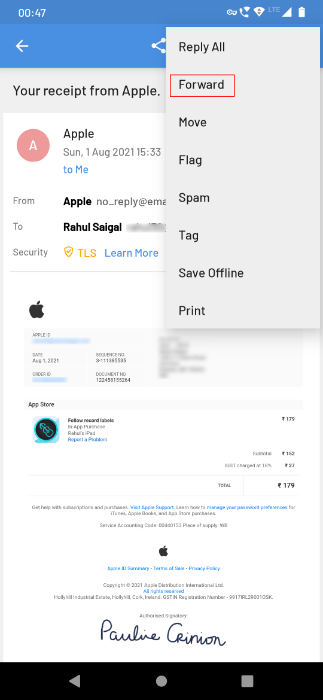
- Open any email message you want to send to OneNote, then tap “More menu → Forward.”
- In the “To” field, type in “me@onenote.com” and a brief note in the “Subject” field, then click “Send.”
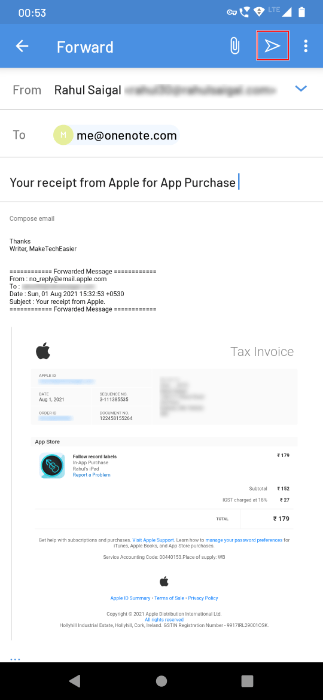
Any text you type in the “Subject” field will become the page title of the OneNote page and may include your attachment as well. You can forward email to OneNote through any email app of your choice.
Good to know: It’s easy to have text messages automatically forwarded to email or the cloud.
3. Capture Screenshots and OCR in OneNote
A screenshot adds substantial value to your notes. To capture your screen,
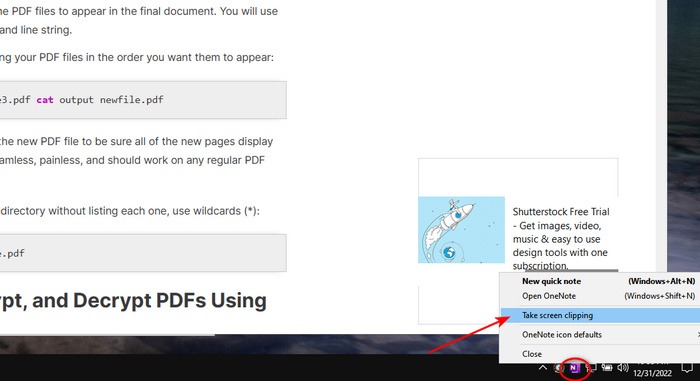
- Right-click the OneNote icon on the Windows taskbar and click “Take screen clipping.”
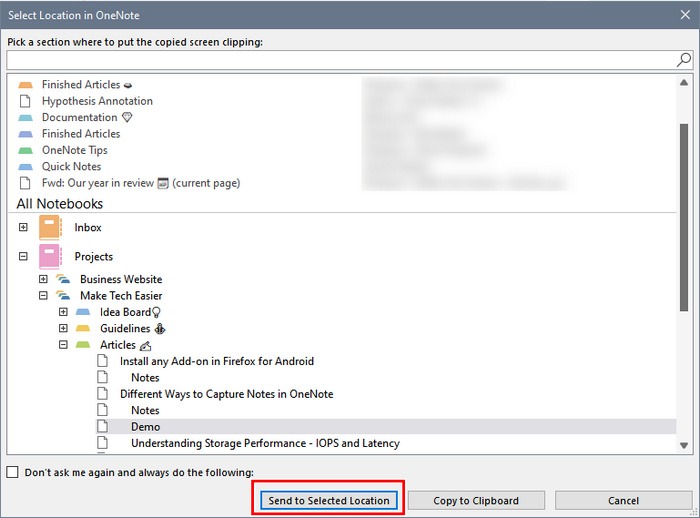
- Click and drag over the area to select the part of the screen you want to capture. In the “Select Location in OneNote” dialog box, choose a section from “All Notebooks” and click “Send to Selected Location.”
- If your screenshot contains text, right-click the image and click “Copy Text from Picture.” The built-in text recognition engine in OneNote copies the text to your clipboard. You can paste this note into any OneNote page.

Note: the effectiveness of OCR depends on the complexity and legibility of the text. It works better with text in photos than handwriting. Read our guide to find different ways to preserve handwritten notes.
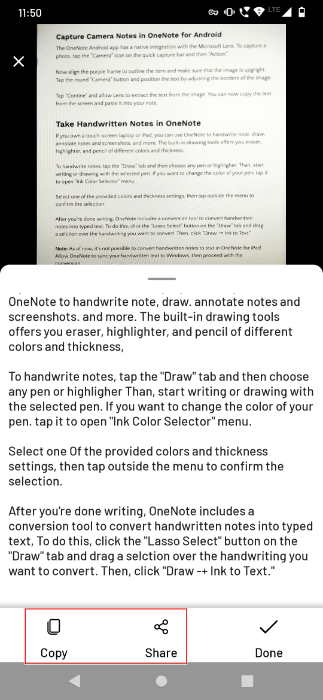
Capture Camera Notes in OneNote for Android
The OneNote Android app has native integration with Microsoft Lens. It will also work with some alternative document scanner apps for Android, but they do not directly integrate with OneNote. To capture a photo, follow the steps below:
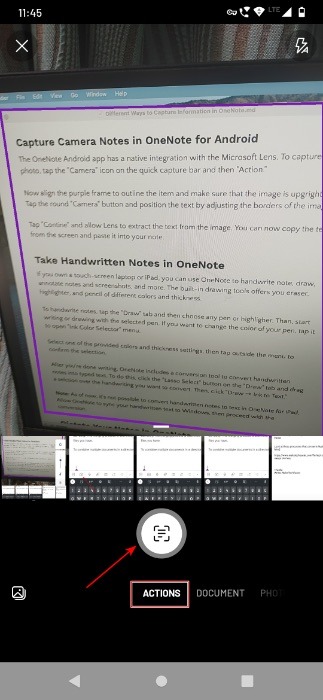
- Tap the “Camera” icon on the quick capture bar.
- Tap “Actions,” and align the purple frame with your object. Make sure that the image is upright. Tap the round “Camera” button and position the text by adjusting the image’s borders.
- Tap “Continue” and allow Lens to extract the text from the image.

- Copy the text from the screen and paste it into your note or share it with other apps.
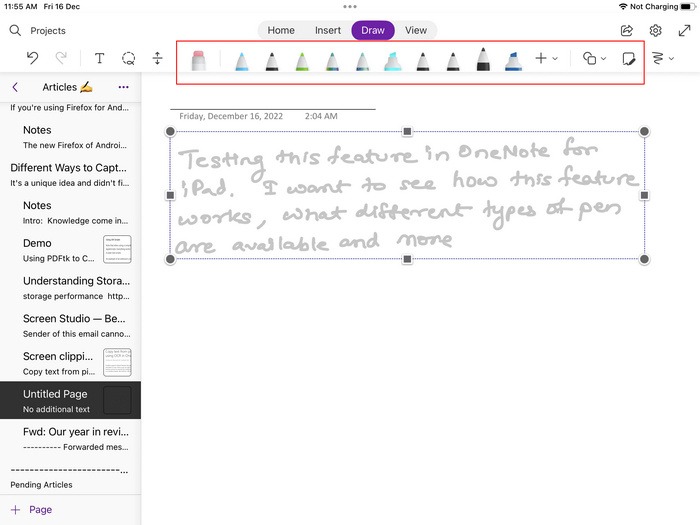
4. Take Handwritten Notes in OneNote
If you own a touchscreen laptop or tablet, you can use OneNote to write a note, draw, annotate notes and screenshots, or you could use OneNote for journaling. The built-in drawing tools offer an eraser, highlighter, and pencil of different colors and thicknesses.
To handwrite notes, follow the steps as laid out below.
- Tap the “Draw” tab and choose any pen or highlighter. Start writing or drawing with the selected pen.
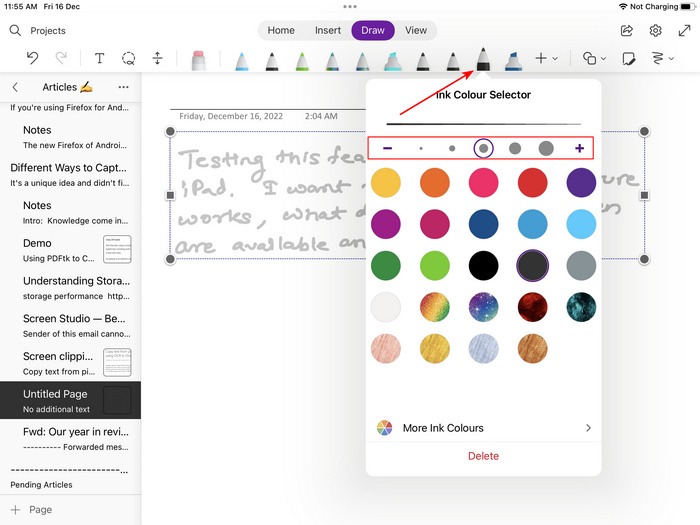
- If you want to change the color of your pen, tap it to open the “Ink Color Selector” menu. Select one of the provided colors and thickness settings, then tap outside of the menu to confirm the selection.
- OneNote includes a conversion tool to convert handwritten notes into typed text. Click the “Lasso Select” button on the “Draw” tab and drag over the handwriting you want to convert, then click “Draw → Ink to Text.”
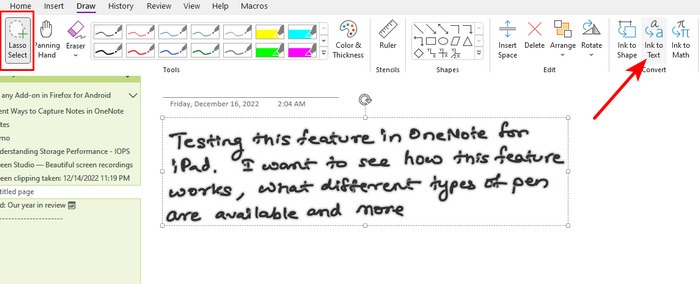
Note: It’s not possible to convert handwritten notes to text in OneNote for iPad. Allow OneNote to sync your handwritten text to desktop, then proceed with the conversion. If you just want to take handwritten notes, read our guide on using Goodnotes for written and OCR notes.
5. Dictate Your Notes in OneNote
Dictation offers you a quick and easy way to capture ideas, write rough drafts, and make comments on the notes you’ve created. The dictate feature uses Microsoft AI-backed voice technology to add, format, and edit text. To get started, follow the steps below:
- Click the “Dictate” button in the “Home” tab.

- Wait for the recording button to turn ON. Start speaking to create your notes.

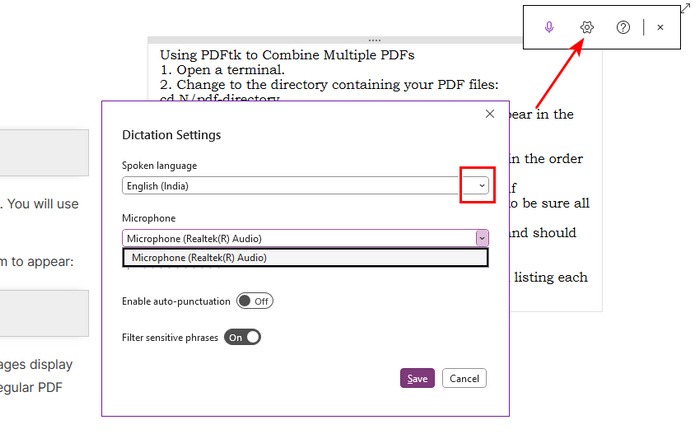
- By default, dictation is set to your document language. Click on the gear icon to see the list of supported languages and those in preview, as they may have lower accuracy or limited punctuation support. You can even change your microphone, disable auto-punctuation, and filter sensitive phrases.
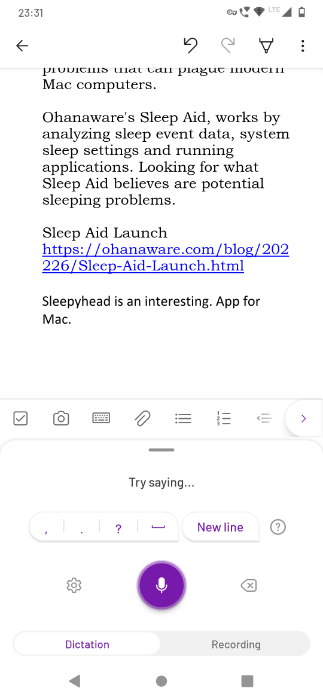
- Dictation in OneNote for Android works similarly. However, it supports a limited set of punctuation (periods, quotes, and parentheses) and fewer languages.
Note: The dictate feature in OneNote for Windows does not require any manual tweaking unless you use a separate microphone. If you’re facing any problems, read our guide to troubleshoot voice typing in Windows.
Frequently Asked Questions
Are there any third-party apps to help you capture information from various web apps to OneNote?
Microsoft OneNote transparent and flexible APIs makes it possible to capture information from various web apps in OneNote. IFTTT and Zapier are popular automation tools to link apps together.
For example, you can send Twitter bookmarks in OneNote and append tweets in a page, save your favorite Reddit post in OneNote, send events from Google Calendar to OneNote, and more. See the IFTTT OneNote and Zapier OneNote integration pages for more details.
Many RSS apps (Feedly, InoReader), read-later apps (Pocket, Instapaper), document scanner apps (Microsoft Lens, Rocketbook), and screenshot apps (ShareX, Faststone Capture) support OneNote.
Can we link a note to another note and connect information?
OneNote doesn’t limit you to a particular information structure. You can divide the section into different section groups, and each section can contain multiple pages or sub-pages.
With the built-in support of wiki-link syntax, you can make connections no matter where they’re located in OneNote. Enclose the text in double brackets. For example: [[Capturing Information in OneNote]].
Are there any keyboard shortcuts to navigate and organize notes in Microsoft OneNote?
Yes, Microsoft OneNote has a built-in support of keyboard shortcuts, and we recommend you learn them once you’re done capturing information. Shortcuts will help you navigate, organize, and format notes in a matter of seconds.
You don’t have to learn these shortcuts in one go. Create a sticky note in your desktop and make a habit of using them. Here’s the complete Microsoft OneNote keyboard shortcut cheatsheet for your convenience.
Image credit: Pexels. All images and screenshots by Rahul Saigal.